 Save
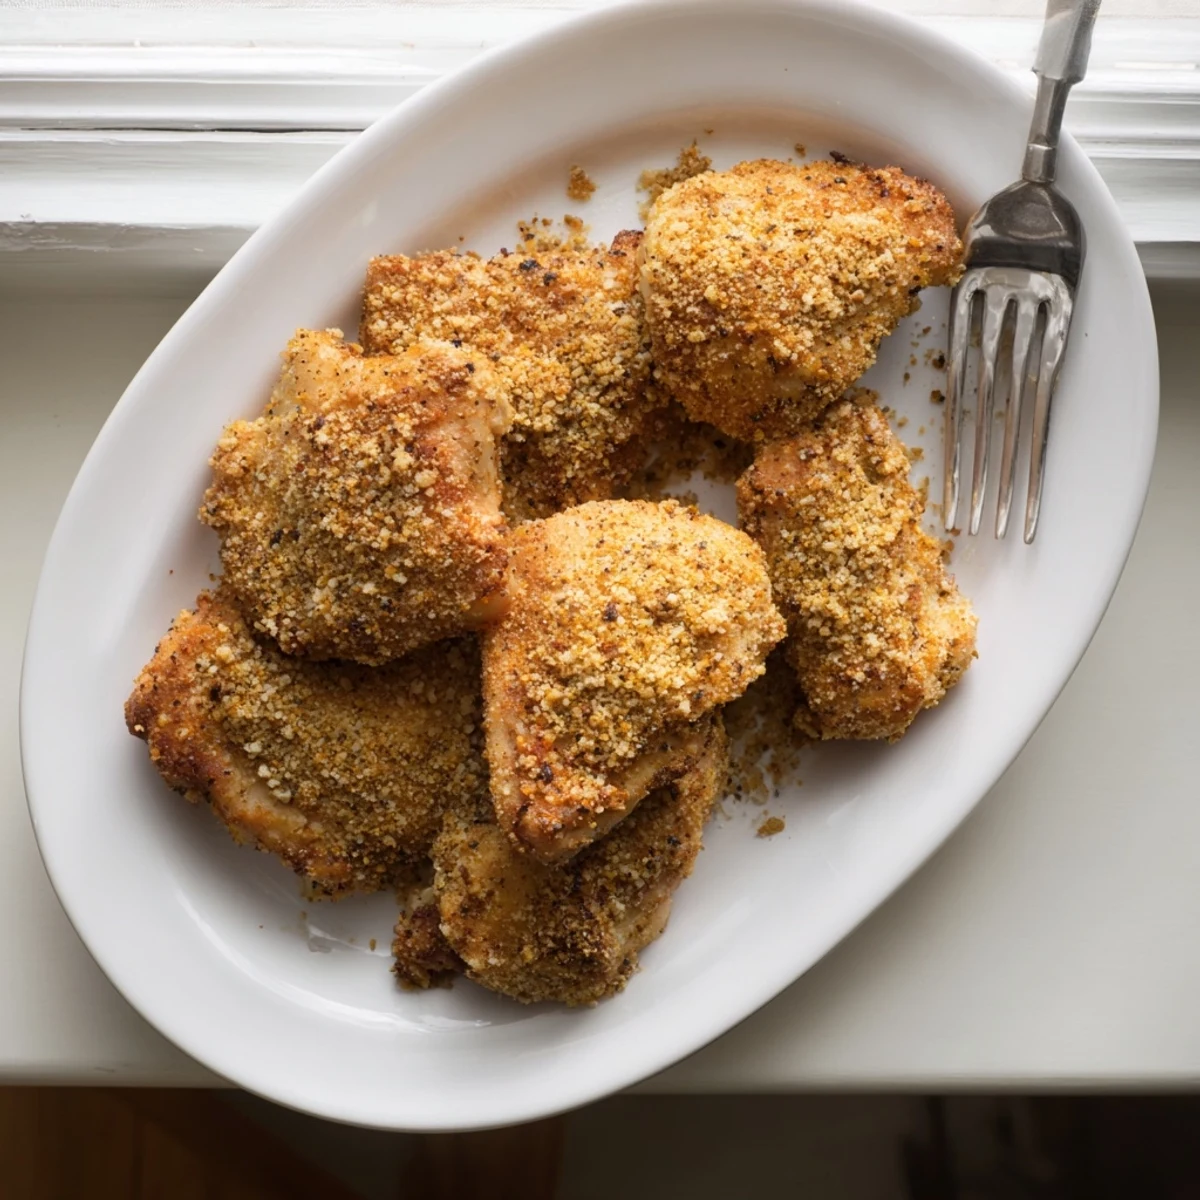
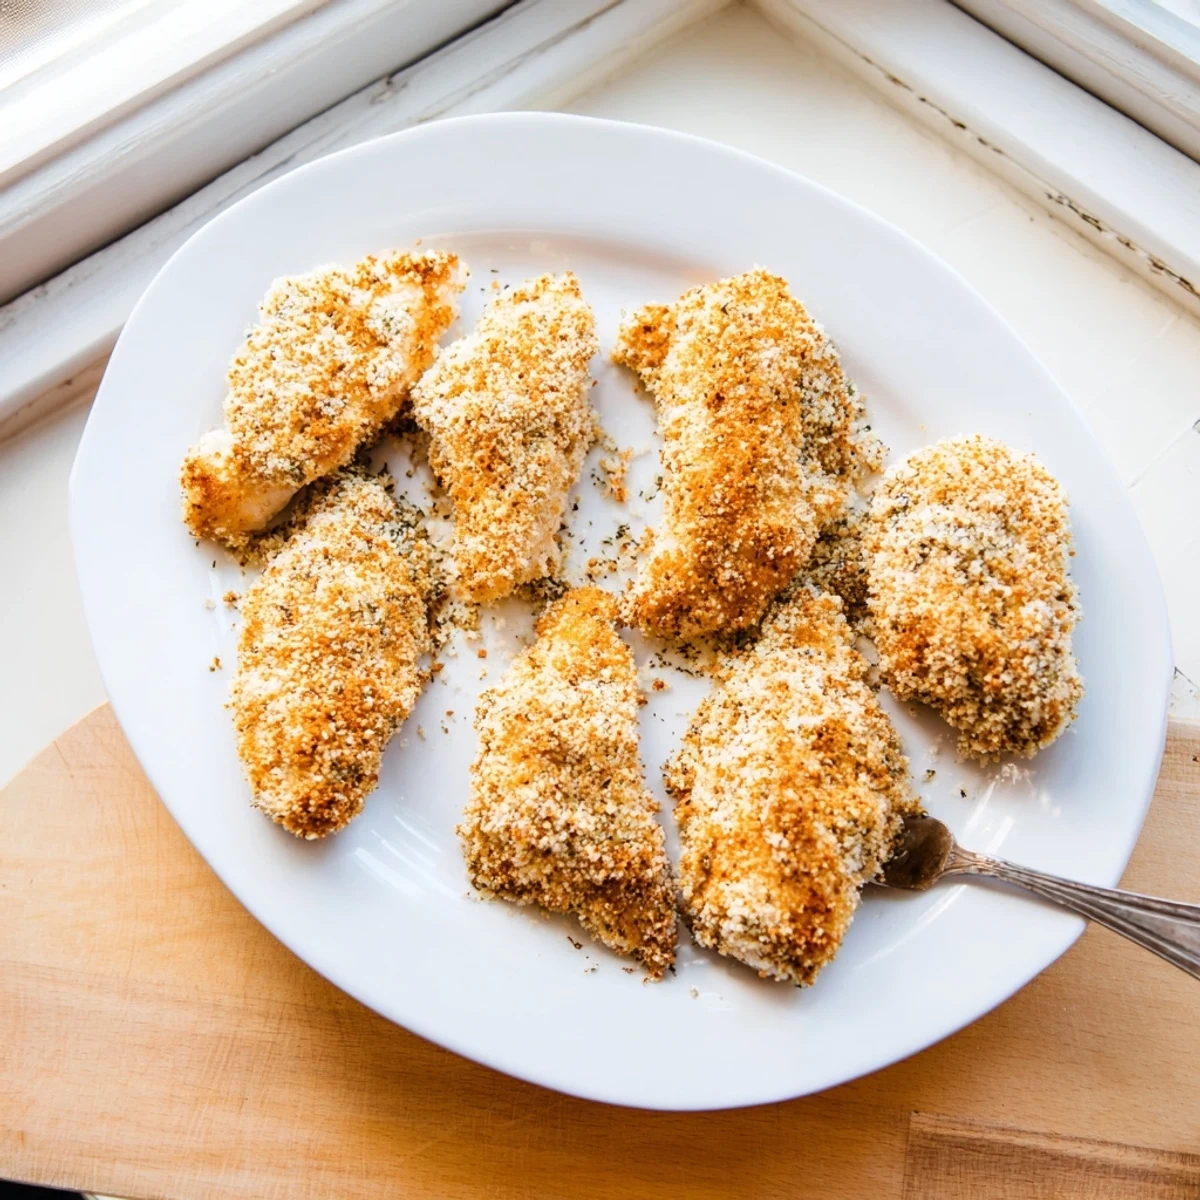
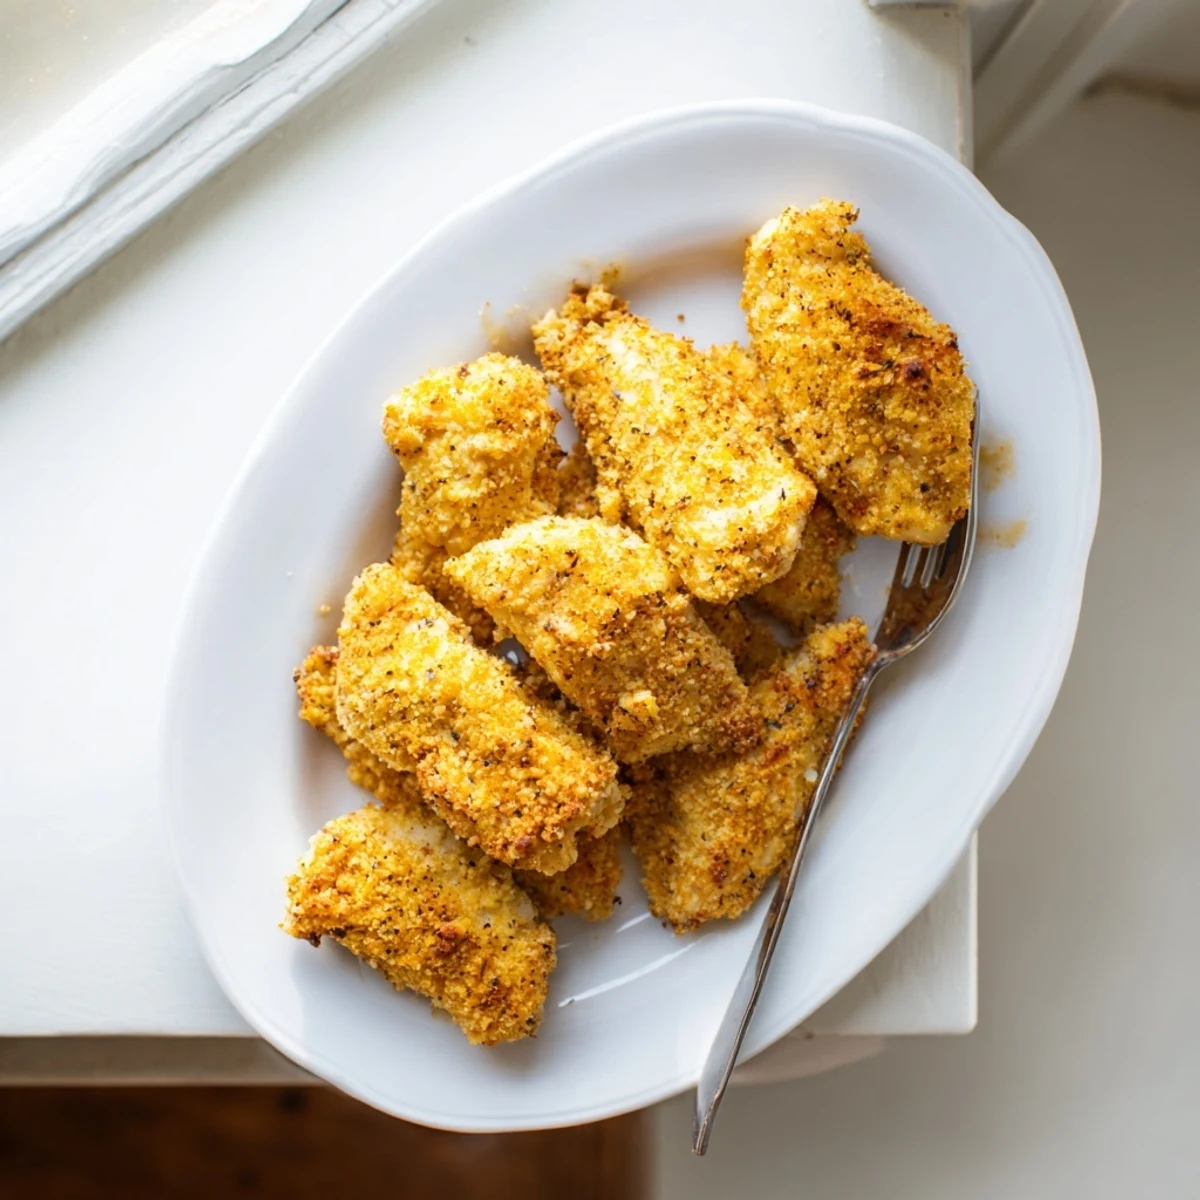
Save This oven-baked chicken features a crispy, golden coating made from freshly grated Parmesan, panko breadcrumbs, and aromatic garlic powder. The preparation is straightforward: dip chicken in a simple egg wash, press into the seasoned crumb mixture, then bake until the crust is perfectly crunchy and the meat stays juicy throughout.
The combination of Italian seasoning, paprika, and freshly cracked black pepper creates layers of flavor that appeal to both kids and adults. Each serving delivers 48 grams of protein with just 18 grams of carbohydrates, making it an excellent option for high-protein diets.
Serve alongside roasted vegetables, over pasta, or with a crisp green salad for a complete satisfying meal that comes together in under an hour.
My teenage son walked into the kitchen last night, took a deep breath through his nose, and immediately asked if we were having that chicken again. He meant this garlic Parmesan creation that somehow manages to make chicken breasts taste like something from a restaurant kitchen.
I discovered this recipe during a busy Tuesday when I was completely out of dinner ideas and the grocery run had been postponed yet again. That night, the silence around the dinner table was the kind that only happens when everyone is too busy eating to talk.
Ingredients
- 4 boneless skinless chicken breasts: About 1.5 pounds total, try to buy them similar thickness so they cook evenly
- 1 cup grated Parmesan cheese: Freshly grated melts better but pre grated works in a pinch
- 1 cup panko breadcrumbs: These Japanese style crumbs create that extra crispy texture everyone loves
- 2 teaspoons garlic powder: Not fresh garlic here, the powder distributes evenly through the coating
- 1 teaspoon Italian seasoning: Or use equal parts dried oregano and basil
- 1 teaspoon paprika: Adds a beautiful golden color and subtle depth
- ½ teaspoon salt: The Parmesan is already salty so go easy here
- ½ teaspoon black pepper: Freshly cracked makes a noticeable difference
- 2 large eggs: Room temperature eggs create better adhesion
- 2 tablespoons whole milk: Helps thin the egg wash for easier dipping
- 2 tablespoons olive oil or melted butter: Drizzled on top for that gorgeous golden finish
Instructions
- Preheat your oven to 400°F
- Line a baking sheet with parchment paper for easy cleanup later
- Prepare the chicken
- Pat each breast thoroughly dry with paper towels, this step is crucial for the coating to stick properly
- Make the egg wash
- Whisk together the eggs and milk in a shallow bowl until fully combined
- Mix the coating
- Combine the Parmesan, panko, garlic powder, Italian seasoning, paprika, salt, and pepper in another shallow dish
- Dip and coat
- Press each chicken breast into the egg mixture, then coat generously with the crumb mixture, pressing firmly to help it adhere
- Arrange and drizzle
- Place the coated chicken on your prepared baking sheet and drizzle the tops with olive oil or melted butter
- Bake until golden
- Cook for 25 to 30 minutes until the coating is golden brown and the chicken reaches 165°F internally
- Rest before serving
- Let the chicken sit for 5 minutes so the juices redistribute throughout the meat
 Save
Save Last weekend, my neighbor came over just as I was pulling this chicken out of the oven. She stayed for dinner, and we ended up talking for two hours about how sometimes the simplest meals are the ones that bring people together.
Making It Your Own
Sometimes I add a pinch of red pepper flakes to the coating when we want a little heat. Other times, I swap in almond flour mixed with the Parmesan for a low carb version that still delivers amazing crunch.
Side Dish Magic
Roasted broccoli with garlic, a simple green salad with lemon vinaigrette, or even buttered noodles all make perfect partners. The key is having something fresh to balance the richness of that crispy crust.
Making Ahead And Storage
You can coat the chicken up to 4 hours ahead and keep it refrigerated until ready to bake. Leftovers store beautifully and actually make incredible cold chicken sandwiches the next day.
- Freeze uncooked coated chicken between sheets of parchment for up to 3 weeks
- Reheat baked chicken in a 350°F oven to restore crispiness
- The coating softens in the microwave, so use the oven or toaster oven
 Save
Save There is something deeply satisfying about hearing that first crunch when someone takes a bite. This recipe has become our go to for busy weeknights when comfort food is exactly what we need.
Recipe FAQs
- → How do I know when the chicken is done?
-
Insert a meat thermometer into the thickest part of the chicken breast. It should read 165°F (74°C). The juices should run clear when pierced, and the coating should be golden brown and crispy.
- → Can I use chicken thighs instead of breasts?
-
Yes, boneless skinless chicken thighs work beautifully. They may need an additional 5-10 minutes of baking time depending on thickness, and they stay even juicier than breasts.
- → What can I use instead of panko breadcrumbs?
-
Regular breadcrumbs, crushed cornflakes, or even crushed crackers can substitute for panko. The texture will be slightly different but still delicious. For gluten-free options, use certified gluten-free breadcrumbs.
- → Can I prepare this ahead of time?
-
You can coat the chicken up to 4 hours ahead and refrigerate until ready to bake. For best results, add the olive oil or melted butter just before putting it in the oven.
- → How do I store and reheat leftovers?
-
Store cooled chicken in an airtight container in the refrigerator for up to 4 days. Reheat in a 375°F oven for 10-15 minutes to restore crispiness. The microwave will make the coating soggy.
- → Can I freeze the prepared chicken before baking?
-
Yes, arrange the coated chicken on a baking sheet and freeze until solid, then transfer to a freezer bag. Bake from frozen, adding 5-10 minutes to the cooking time.
