 Save
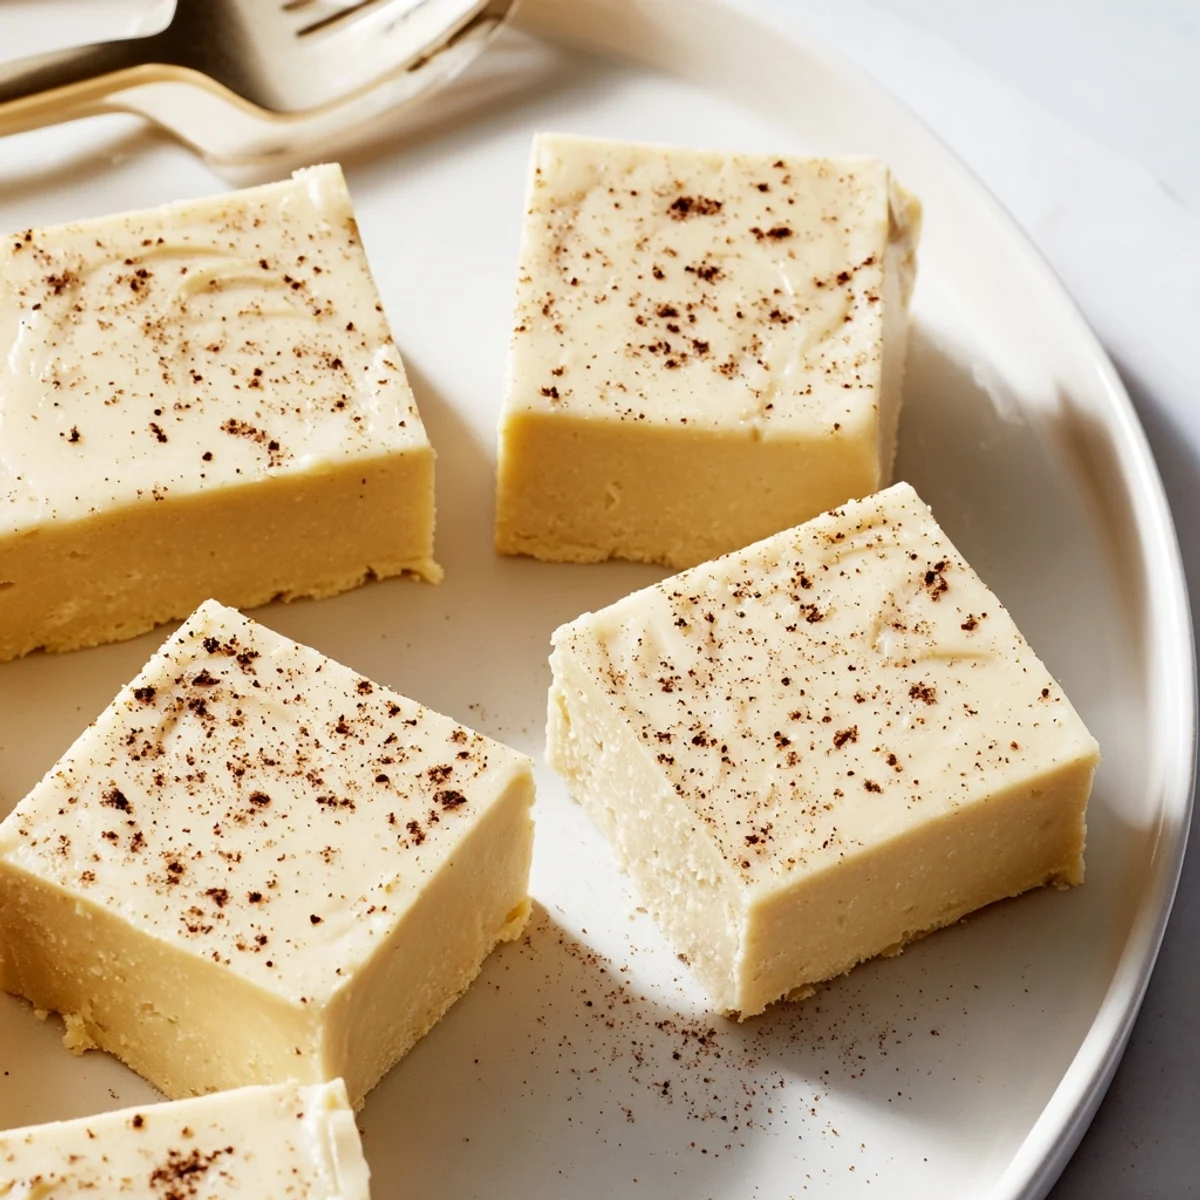
Save Start by combining butter, eggnog and sugar, bringing to a gentle boil, then simmer briefly to thicken. Remove from heat and stir in white chocolate, nutmeg, cinnamon and vanilla until glossy. Pour into a lined 8x8 pan, chill at least 2 hours, then cut into 36 squares. Fold in chopped nuts or a splash of spiced rum for variation; store chilled up to one week. For cleaner slices, chill until very firm and warm the knife between cuts; grate extra nutmeg on top before serving.
The first time the scent of nutmeg and vanilla drifted through my kitchen, I wasn't planning on making fudge—I was just trying to use up a carton of leftover eggnog. What happened instead was a creamy, melt-in-your-mouth treat that felt like winter holidays bundled into every bite. My brother wandered in, lured by the sweet aroma, and swore it smelled better than the neighbor's annual cookie swap next door. That was when I realized I had stumbled onto something special for our family dessert tradition.
One snow-dusted afternoon, I made this fudge for friends who had spent the morning sledding in our local park. As their laughter echoed down my hallway, I caught myself feeling oddly accomplished while swirling the still-warm fudge mixture and sneaking a fingerful before it cooled. We ended up eating half the pan while drying our mittens by the radiator. These are the little kitchen victories I cherish most.
Ingredients
- White chocolate chips: Choose good quality chips for a truly creamy base—cheaper varieties sometimes resist melting and leave odd bits in the fudge.
- Unsalted butter: This keeps the fudge rich and manageably decadent; melting it slowly ensures a silky texture.
- Eggnog: Use your favorite store-bought or homemade blend, but make sure it’s full-fat for best results.
- Granulated sugar: I’ve found that superfine sugar dissolves especially well and creates a smoother texture.
- Ground nutmeg: The aroma of nutmeg makes this fudge unmistakably festive with its classic holiday flavor.
- Ground cinnamon: Just a touch provides gentle warmth that deepens the eggnog notes.
- Pure vanilla extract: A little vanilla rounds out the sweetness—never use imitation if you can help it.
- Freshly grated nutmeg (optional garnish): It’s magical sprinkled on top; the first whiff will have everyone hovering near the kitchen.
Instructions
- Prep the pan:
- Line an 8x8-inch pan with parchment, letting the sides hang over so you can lift out the fudge easily later.
- Start the base:
- In a saucepan, melt butter with eggnog and sugar over medium heat, stirring as the sugar dissolves and the mixture just begins to bubble.
- Simmer gently:
- Turn the heat to low and keep stirring—watch for the bubbles to get quieter and the mixture to thicken slightly, about 4 to 5 minutes.
- Mix in the magic:
- Remove from heat, then add white chocolate chips, nutmeg, cinnamon, and vanilla, stirring until everything is silky-smooth and glossy.
- Shape and chill:
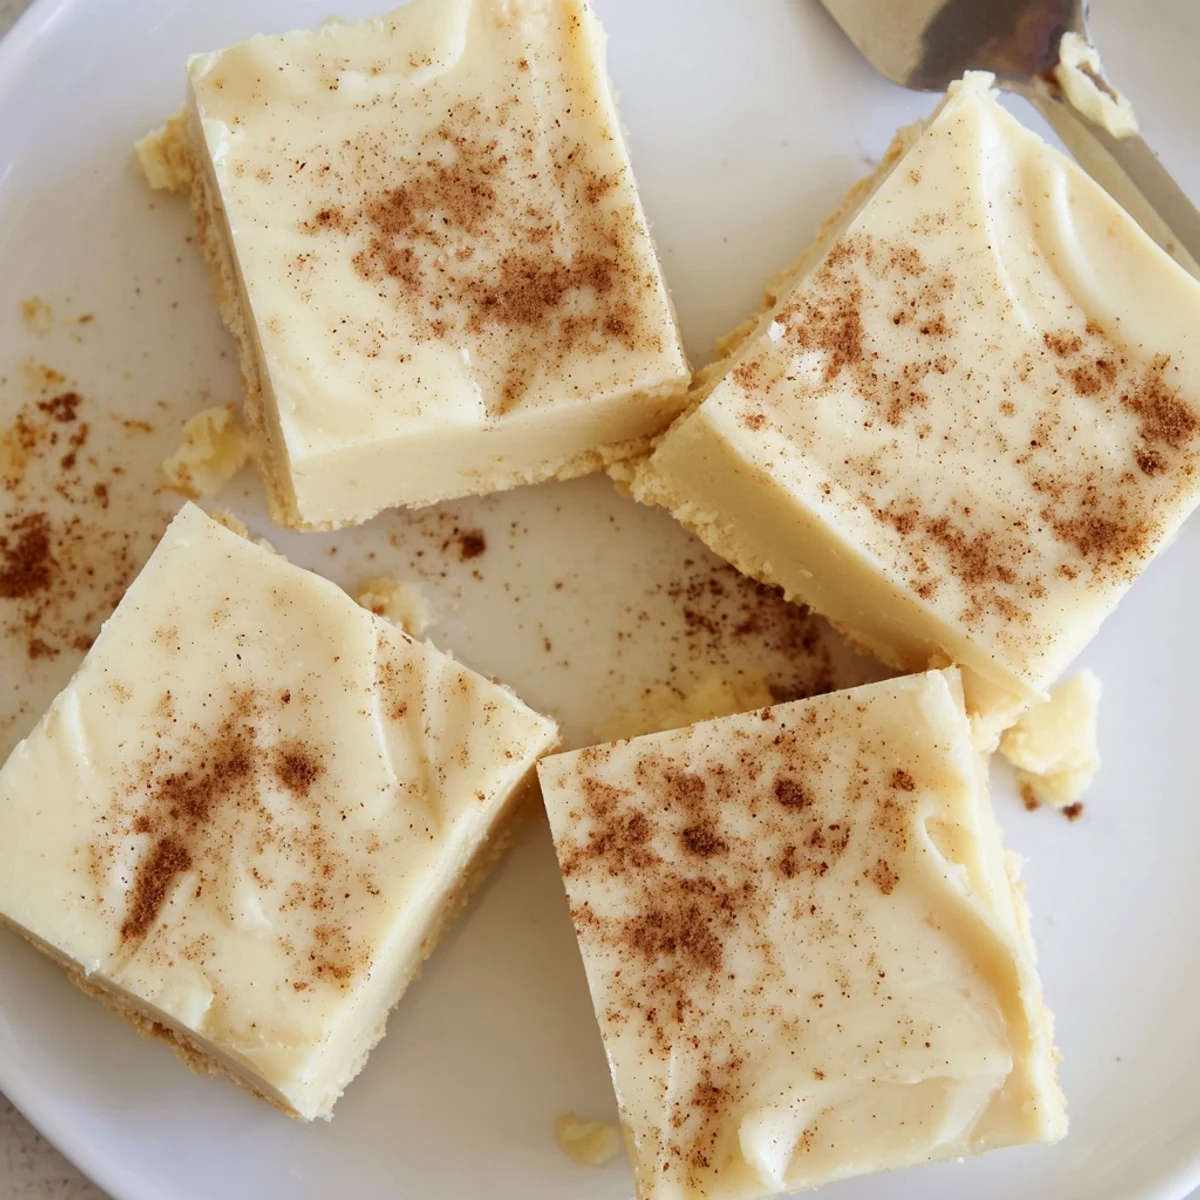
- Pour the creamy fudge into your pan, smoothing the top—sprinkle with fresh nutmeg if you like—and let it cool on the counter before chilling until set.
- Cut and enjoy:
- Lift out the fudge using the parchment, then slice into neat squares—clean the knife between cuts if you want perfect edges.
 Save
Save Handing out wrapped pieces of this fudge became a sweet ritual at our holiday party last year—a cousin told me it tasted like Christmas morning in candy form and promptly demanded the recipe. It’s amazing how a simple treat can turn into a cherished memory with the right people.
How to Store and Share
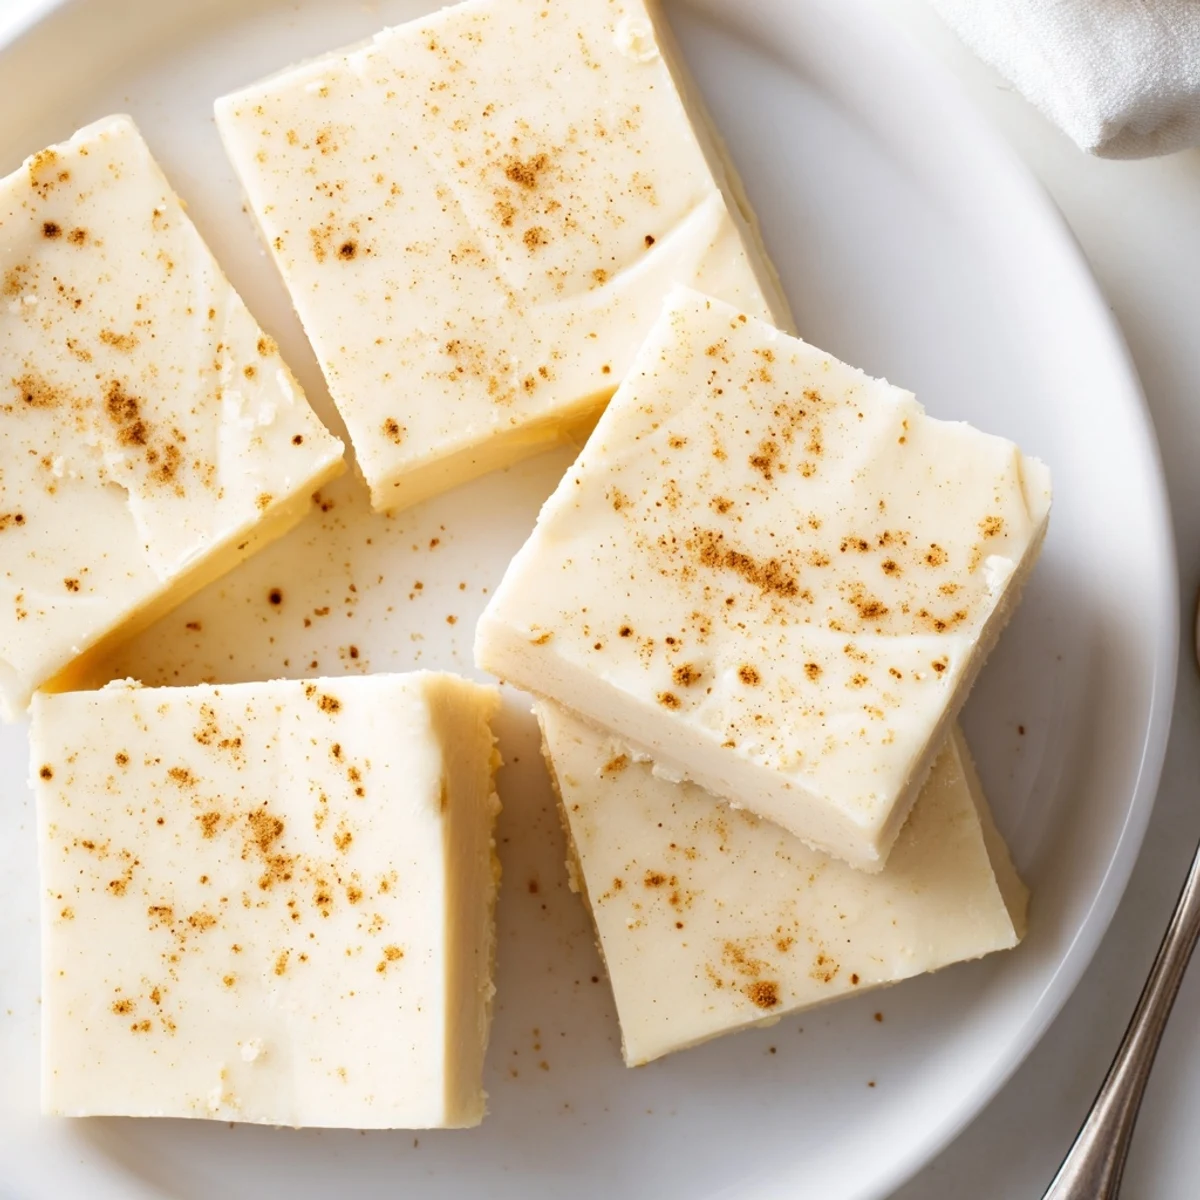
Stash your fudge in an airtight container in the fridge—it stays perfectly creamy for up to a week, and the flavors seem to deepen over time. A quick wrap in parchment and twine turns them into adorable homemade gifts, which honestly never last long in my house anyway.
Customizing Your Eggnog Fudge
One lazy Sunday, I tossed in a big handful of chopped toasted pecans for extra crunch, and suddenly the fudge took on a nutty personality that had my family fighting for corners. If you love a boozy twist, try adding a splash of spiced rum with the vanilla—the fragrance is unreal.
Quick Troubleshooting for Smooth Fudge
If your fudge comes out too soft, you probably didn’t simmer quite long enough—just a minute or two more next time fixes it. Use a heavy-bottomed pan to help prevent scorching, and don’t be afraid to switch to a wooden spoon when stirring in the chocolate for a more tactile feel.
- Don’t skip the parchment—removing the fudge otherwise is a sticky mess.
- Let the fudge rest fully in the fridge before cutting, or it might stick to your knife.
- Keep an eye on the simmer; a rolling boil isn’t your friend with fudge.
 Save
Save This eggnog fudge makes ordinary days feel like a celebration—sometimes, a pan of fudge in the fridge is reason enough to gather. Wishing you happy kitchen moments, no matter the season.
Recipe FAQs
- → Can I use low-fat eggnog?
-
Yes. Lower-fat eggnog will work though the finish may be slightly less creamy. For richer texture, use full-fat eggnog or add a touch more white chocolate.
- → How do I get a smooth, glossy texture?
-
Bring the butter, eggnog and sugar to a gentle boil, simmer briefly, then remove from heat before adding chocolate. Stir until completely melted and smooth to avoid graininess.
- → Any tips for clean slices?
-
Chill the block until very firm and use a warm, dry knife for each cut. Wipe the blade between slices for sharp, even squares.
- → Can I add nuts or spirits?
-
Yes—fold in 1/4 cup chopped pecans or walnuts for texture, or stir in 1 tablespoon spiced rum with the vanilla for a boozy note. Additions should be mixed in after the chocolate is melted.
- → How long does it keep?
-
Store in an airtight container in the refrigerator for up to one week. Let sit at room temperature a few minutes before serving for softer bites.
- → Can I swap white chocolate for another type?
-
You can substitute milk chocolate, but the flavor profile will change. If using darker chocolate, reduce added sugar slightly and taste as you go.
