 Save
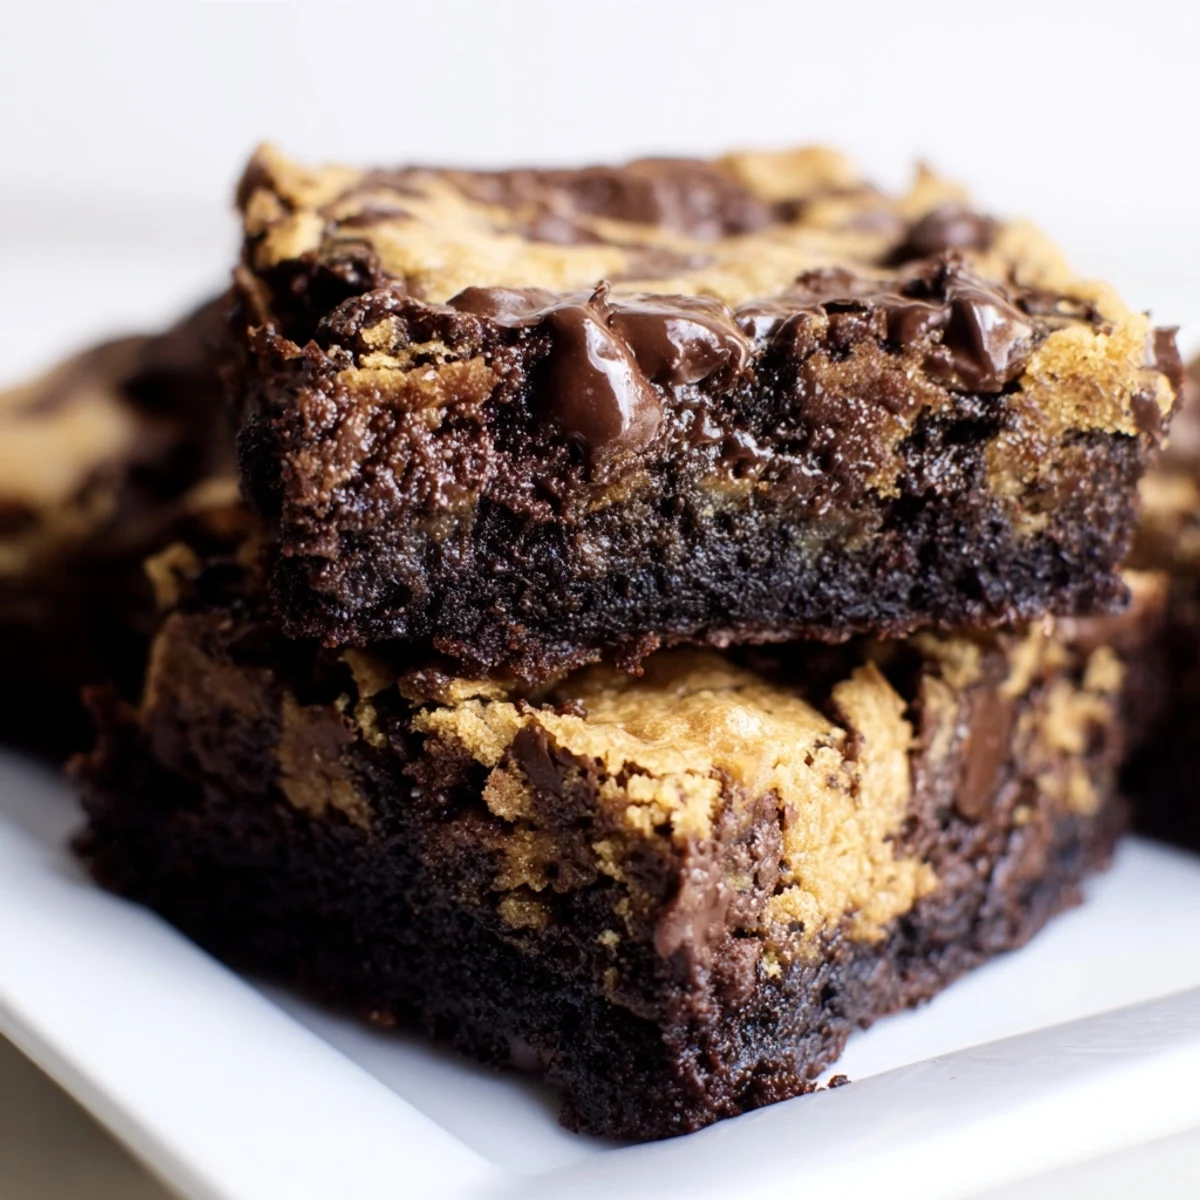
Save Experience the best of both worlds with these fudgy chewy brookies combining rich, dense brownie batter with classic chocolate chip cookie dough. The contrasting textures create an irresistible dessert featuring a fudgy bottom layer topped with chunks of chewy cookie throughout. Each bite delivers deep cocoa flavor balanced by sweet vanilla notes and pockets of melted semisweet chocolate.
This two-layer dessert comes together in about 55 minutes from start to finish and yields 16 generous squares. The brownie layer uses melted butter for that dense fudgy texture, while the cookie dough features creamed butter for lightness. Both layers are generously studded with chocolate chips for extra indulgence in every bite.
My kitchen still smells like browned butter and cocoa, a combination that lingers for hours after the brookies have cooled and been devoured. It started as a compromise during a weekend when half the household wanted brownies and the other half demanded cookies, and honestly I was too tired to make both. So I layered them together, pressed the cookie dough over the brownie batter like a messy patchwork quilt, and hoped for the best.
I brought a pan of these to a friend's potluck last summer and watched three people hover near the dessert table, going back for seconds while pretending to have conversations near the window. The corners disappeared first, which is always the sign of a bake worth repeating.
Ingredients
- Unsalted butter (brownie layer, 115 g melted and cookie layer, 110 g softened): Temperature matters enormously here, so melt the butter for the brownies but let the cookie butter sit out until it is genuinely soft and room temperature, not melty or greasy.
- Granulated sugar and light brown sugar: Both layers need a mix of white and brown sugars to get that contrast between the dense fudgy crumb and the chewy cookie edge.
- Eggs (3 large total): Two go into the brownie batter for richness and structure, while one binds the cookie dough together without making it cakey.
- Vanilla extract: Use the real stuff if you can, because the flavor carries through both layers and you will absolutely notice the difference.
- All-purpose flour: Measured by weight is ideal here, since the brownie layer relies on very little flour to stay fudgy and overmeasuring will turn it into a brick.
- Unsweetened cocoa powder: This is the backbone of the brownie layer, so use a decent quality one and sift it to avoid any bitter lumps.
- Baking soda: Just half a teaspoon gives the cookie layer its characteristic lift and chew without puffing it up too much.
- Semisweet chocolate chips (250 g total): Split between the two layers, these create pockets of melted chocolate throughout every single bite.
- Salt: Do not skip it, because salt is what makes the chocolate taste like chocolate instead of just sweet.
Instructions
- Prepare your pan:
- Preheat the oven to 175 degrees Celsius (350 degrees Fahrenheit) and line an 20x20 cm baking pan with parchment paper, leaving enough overhang on the sides to lift the whole thing out later like a gift you are unwrapping.
- Build the brownie layer:
- Whisk the melted butter with both sugars in a large bowl until it looks like a glossy caramel paste. Add the eggs and vanilla and beat until the mixture is smooth and slightly thickened, then sift in the flour, cocoa powder, and salt, folding gently until just combined before stirring in the chocolate chips.
- Spread the base:
- Pour the brownie batter into your prepared pan and spread it into an even layer, getting it all the way into the corners because every square deserves the same amount of fudgy goodness.
- Make the cookie dough:
- In a separate bowl, cream the softened butter with both sugars until the mixture looks pale and fluffy, then beat in the egg and vanilla until everything is smooth and fragrant. Add the flour, baking soda, and salt, stirring until the dry ingredients just disappear into the dough before folding in the chocolate chips.
- Layer and swirl:
- Drop spoonfuls of the cookie dough over the brownie batter and spread it gently with the back of a spoon or your fingers, leaving some gaps where the brownie peeks through because those swirled spots become the best bites.
- Bake until just right:
- Slide the pan into the oven and bake for 28 to 32 minutes, watching for a lightly golden top and a toothpick that comes out with moist fudgy crumbs clinging to it rather than wet batter.
- Cool completely:
- Let the brookies cool entirely in the pan before slicing, because cutting them warm will give you delicious but very messy squares that fall apart in your hands.
 Save
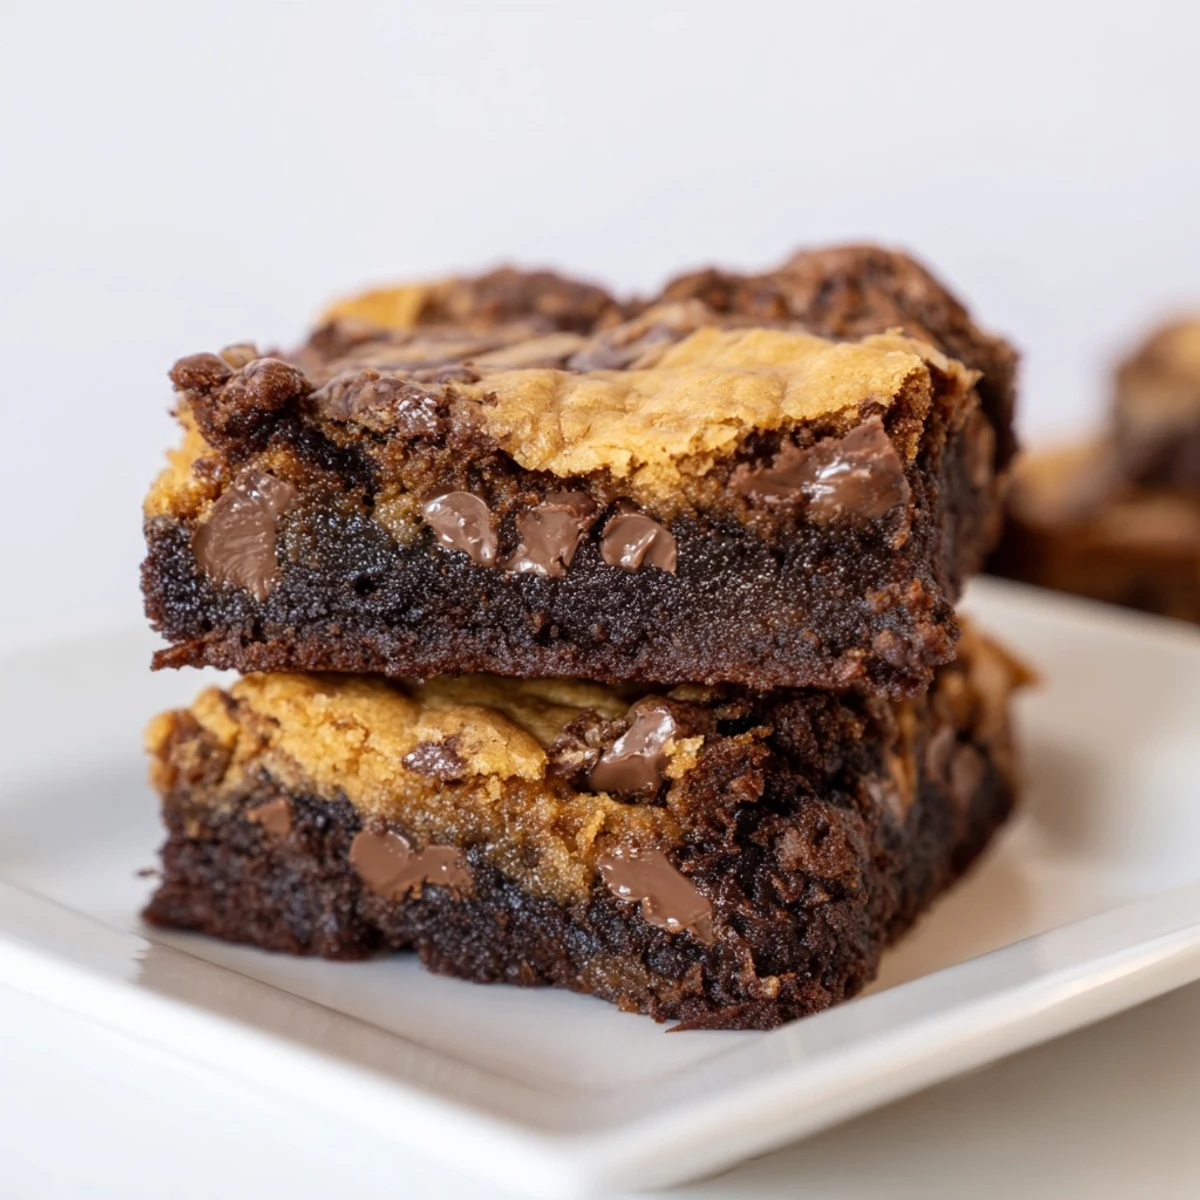
Save The moment you lift the whole slab out of the pan using the parchment overhang and see those two distinct layers stacked together is oddly satisfying, like proof that indecision can sometimes produce the best outcome.
Getting the Texture Right
The secret to the contrast between these two layers is all about how you handle the mixing. The brownie batter should be mixed minimally once the dry ingredients go in, because overmixing develops the gluten and turns fudgy into spongy. The cookie dough, on the other hand, benefits from properly creamed butter and sugar to create those little air pockets that give it chew.
Variations Worth Trying
Swap half the chocolate chips in the cookie layer for chopped toasted walnuts if you want a bit of crunch running through the chew. A generous sprinkle of flaky sea salt on top right before baking takes the whole pan from great to unforgettable, balancing the sweetness with a briny edge that makes people close their eyes when they take a bite.
Storage and Serving
These keep beautifully in an airtight container at room temperature for up to four days, though honestly they rarely last that long in my kitchen. The texture actually improves after the first day as the brownie layer settles and becomes even more dense and fudgy.
- Warm a square for ten seconds in the microwave and serve it with vanilla bean ice cream for an effortlessly impressive dessert.
- Freeze individual squares wrapped tightly in plastic wrap for up to three months, then thaw at room temperature when the craving hits.
- Always cut with a sharp knife wiped clean between each slice for those picture perfect edges.
 Save
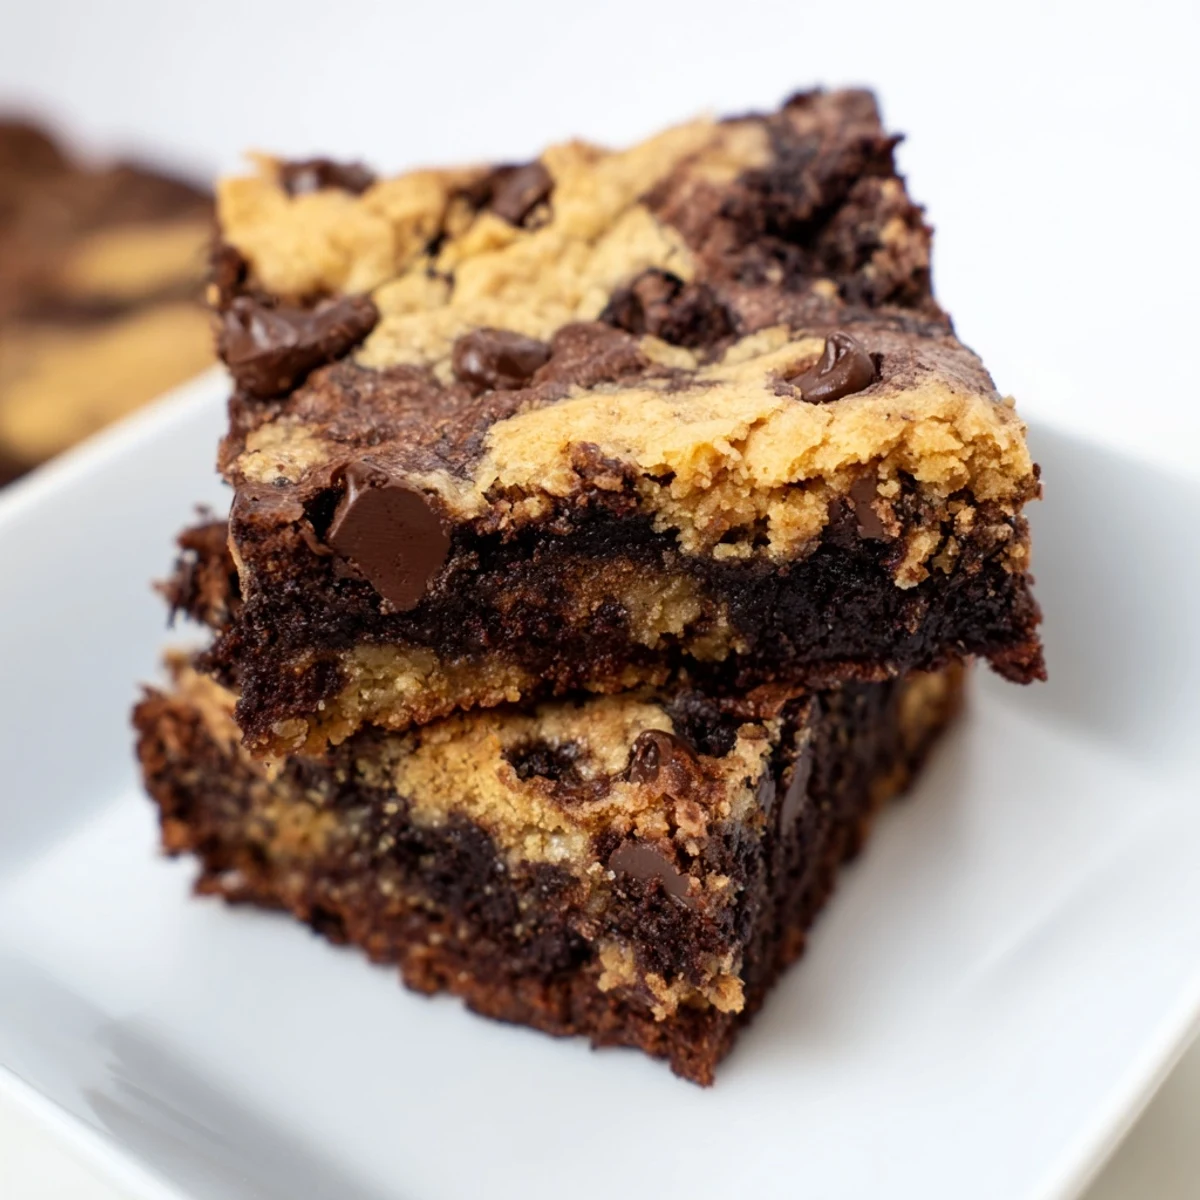
Save Every time I make brookies, someone asks me what they are, and I get to watch their face light up when I say brownie plus cookie baked together in one pan. It is the kind of dessert that reminds you that sometimes the best ideas come from refusing to pick just one thing.
Recipe FAQs
- → What are brookies?
-
Brookies combine brownies and cookies into one dessert, typically featuring distinct layers of each batter swirled or stacked together. This version places fudgy brownie batter on the bottom topped with chunks of chocolate chip cookie dough for varied textures in each bite.
- → How do I know when brookies are done baking?
-
Insert a toothpick into the center—it should come out with moist fudgy crumbs rather than wet batter. The top will appear lightly golden. These continue setting as they cool, so avoid overbaking for the best fudgy texture.
- → Can I make these ahead of time?
-
Absolutely. Brookies keep well for up to 4 days stored at room temperature in an airtight container, or freeze for up to 3 months. They actually taste better the next day as flavors meld together and texture becomes even more fudgy.
- → Why are my brookies too cakey?
-
Cakey texture usually comes from overmixing the batter or overbaking. Mix each layer just until combined—overworking develops gluten leading to cakiness. Also check your oven temperature with an accurate thermometer and reduce baking time by 2-3 minutes.
- → Can I use different chocolate varieties?
-
Yes, experiment with dark chocolate for intensity, milk chocolate for sweetness, or even white chocolate chips in the cookie layer. Chopped chocolate bars work beautifully too and create appealing melty pockets throughout the finished dessert.
- → Do I need to refrigerate the dough before baking?
-
No refrigeration required for this method. The cookie dough is dropped over the brownie layer while soft, then gently swirled. This helps the two textures bake together seamlessly. If you prefer a thicker cookie layer, chill the dough 30 minutes before topping.
