 Save
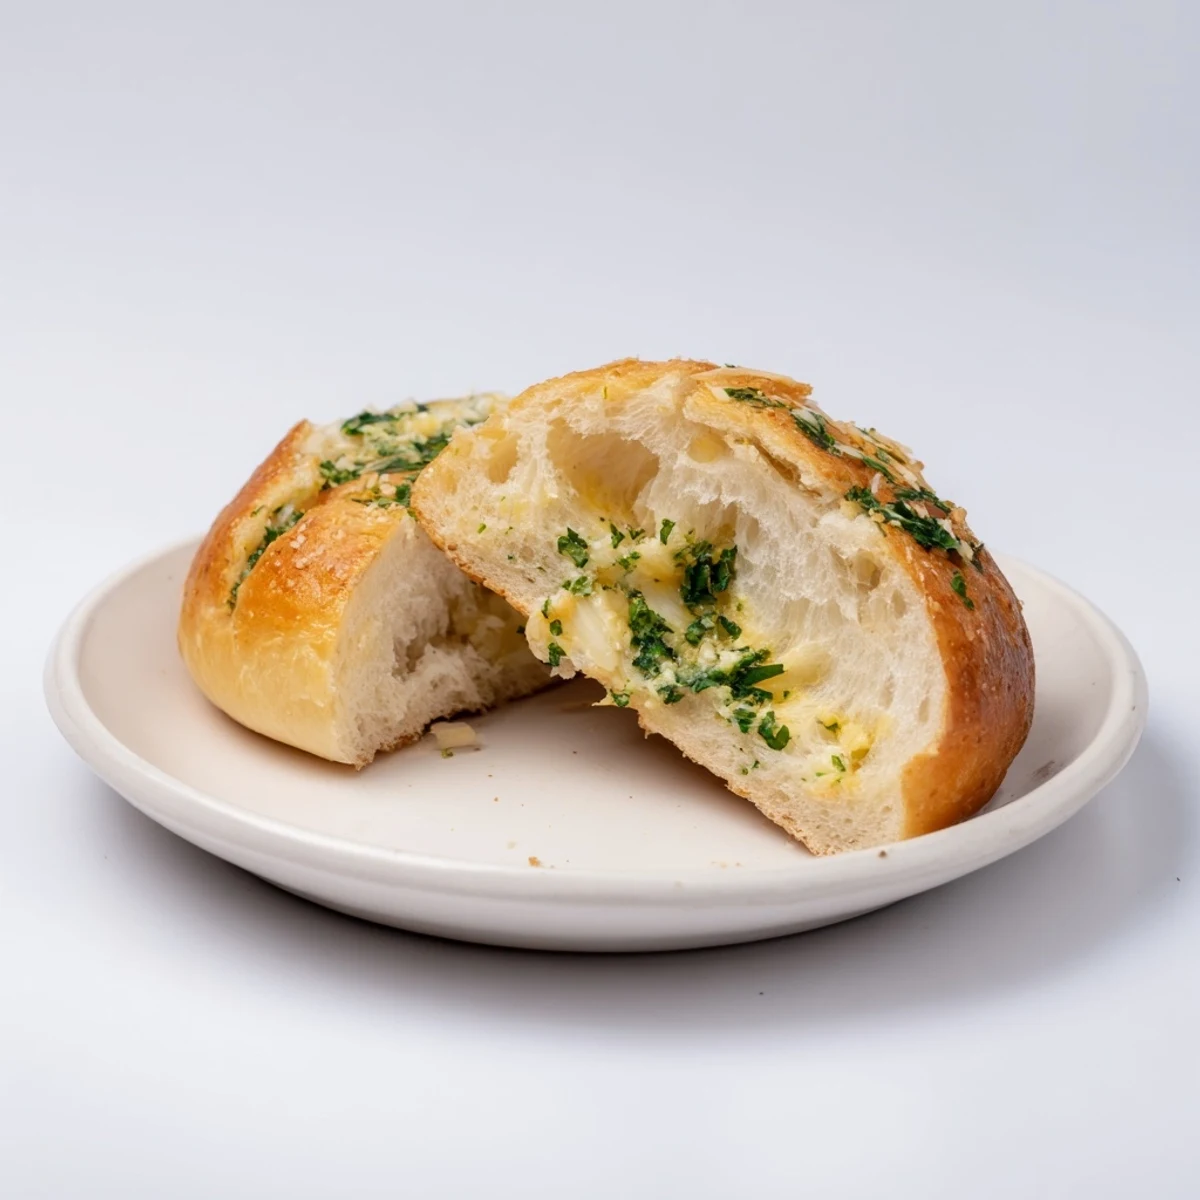
Save These soft, fluffy rolls feature a rich garlic butter filling that melts into every layer. The dough rises to perfection, creating pillowy textures that complement the aromatic blend of garlic, parsley, and Parmesan.
Perfect alongside pasta dishes, soups, or enjoyed warm from the oven. The preparation involves simple kneading and two rising periods, resulting in bakery-quality bread that's surprisingly simple to make at home.
Brush the tops with melted butter before baking for a golden crust, and customize the herbs to your preference. These rolls freeze well and can be reheated for fresh-from-the-oven taste anytime.
The first time I made these, my entire apartment smelled like an Italian bakery. My neighbor actually knocked on my door to ask what restaurant I'd ordered from, looking genuinely confused when I handed her a warm roll straight from the oven.
Last winter, I started doubling the batch because my family began requesting them for every Sunday dinner. The way the butter drips down your chin when you bite into one fresh from the oven is absolutely worth the simple effort.
Ingredients
- 3 1/2 cups all-purpose flour: This is the sweet spot for pillowy rolls that still hold their shape
- Active dry yeast: One packet gives you reliable rise every single time
- Warm milk: Should feel like bath temperature on your wrist
- Sugar: Feeds the yeast and adds just enough sweetness to balance the savory garlic
- Salt: Essential for flavor development
- Melted butter: Creates tenderness in the dough structure
- Egg: Adds richness and helps the rolls develop that gorgeous golden color
- Softened butter for filling: Room temperature spreads easily without tearing the dough
- Fresh garlic: Four cloves gives you robust flavor without overwhelming the palate
- Fresh parsley: Brings brightness and color to every bite
- Parmesan cheese: Adds umami depth that makes these unforgettable
Instructions
- Wake up the yeast:
- Dissolve sugar in warm milk and sprinkle yeast on top. Watch for that beautiful foam to form, which tells you the yeast is alive and ready to work its magic.
- Build the dough base:
- Whisk flour and salt together in your largest bowl. Create a well in the center and pour in the melted butter, egg, and that happy foaming yeast mixture.
- Work the dough:
- Knead for at least 8 minutes until your hands feel the transformation from shaggy to smooth elastic dough. It should bounce back when you press it.
- Let it rise:
- Place dough in a greased bowl, cover with a warm towel, and find the coziest spot in your kitchen. Wait about an hour until it has doubled in size.
- Make the magic filling:
- While dough rises, mix softened butter with garlic, parsley, salt, and Parmesan until it forms a fragrant spreadable paste.
- Shape the rolls:
- Punch down the risen dough gently and divide into twelve equal pieces. Flatten each into a small rectangle, spread with garlic butter, and roll tightly, pinching the seam to seal.
- Second rise:
- Arrange rolls in your greased baking pan, cover them up, and let them puff up for another twenty to thirty minutes.
- Bake to golden:
- Brush with melted butter, add extra parsley and cheese, then bake at 350°F for twenty to twenty five minutes until they smell incredible.
 Save
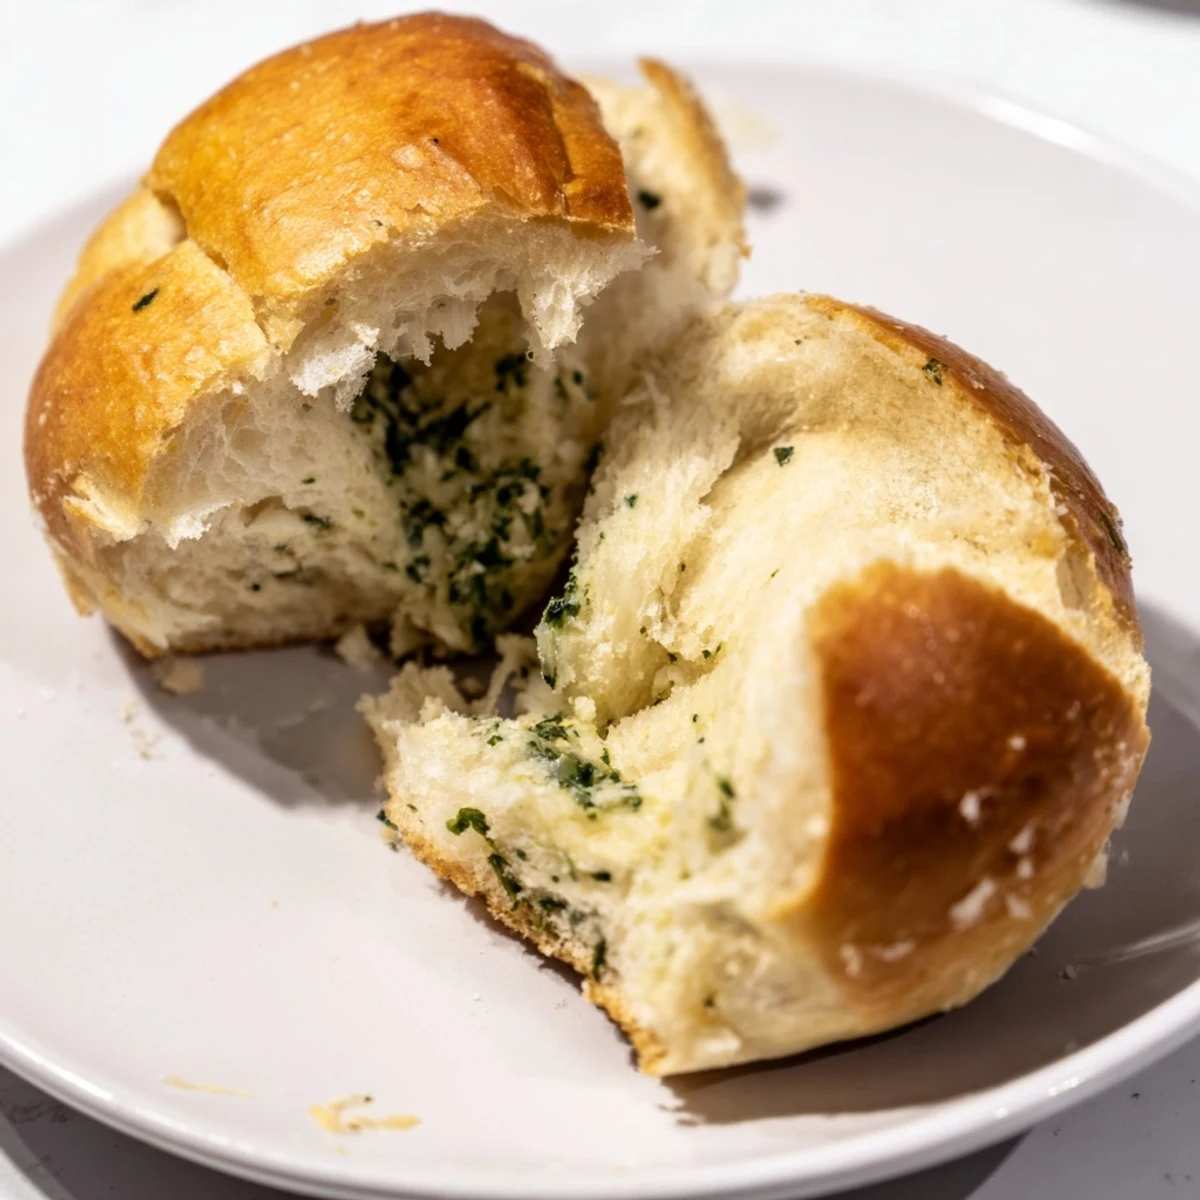
Save These rolls became my go to dinner party contribution after watching my usually quiet cousin absolutely light up at our holiday table. The simple act of breaking bread together felt elevated when everyone reached for that basket of warm garlic knots.
Making Them Ahead
You can prepare these through the shaping step, then refrigerate overnight. Let them come to room temperature and rise for about thirty minutes before baking.
Getting The Best Rise
I've found that turning my oven light on creates just enough warmth for proofing. Avoid drafty areas or cold countertops that can slow down your yeast activity significantly.
Serving Ideas
These pair with absolutely everything from pasta to soup. Consider them your secret weapon for transforming an ordinary weeknight meal into something special.
- Warm marinara makes an incredible dipping sauce
- Try adding chili flakes to the butter for subtle heat
- Leftovers reheat beautifully in a 350°F oven for 5 minutes
 Save
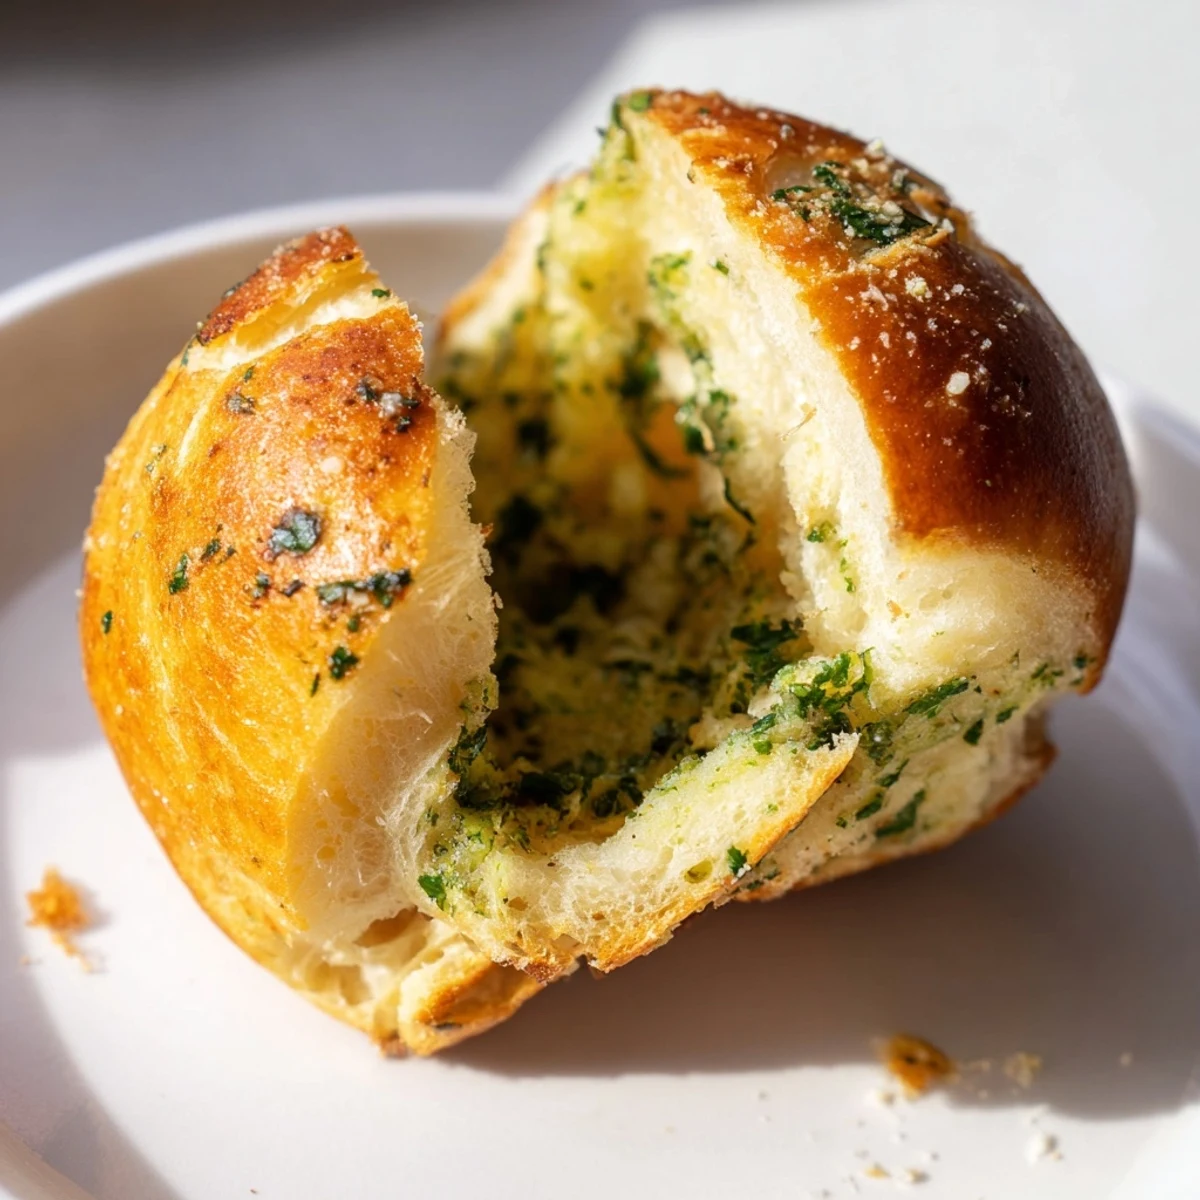
Save There is something profoundly satisfying about pulling homemade bread from your own oven. These rolls have turned countless simple meals into memories.
Recipe FAQs
- → How do I know when the dough has doubled in size?
-
Press two fingers gently into the dough about ½ inch deep. If the indentation remains and doesn't spring back, the dough has properly risen. This typically takes about 1 hour in a warm, draft-free area.
- → Can I make these rolls ahead of time?
-
Yes, prepare the shaped rolls and refrigerate overnight before the final rise. Let them come to room temperature for 30 minutes, then bake as directed. You can also freeze baked rolls and reheat at 350°F for 5-10 minutes.
- → Why is my dough not rising?
-
The milk might be too hot—killing the yeast—or too cold—slowing activation. Use warm milk between 105-115°F. Also check that your yeast is fresh; expired yeast won't activate properly.
- → Can I use dried parsley instead of fresh?
-
Fresh parsley provides brighter flavor, but you can substitute 1 teaspoon dried parsley for the 2 tablespoons fresh. Add it to the butter mixture as instructed.
- → How should I store leftover rolls?
-
Store cooled rolls in an airtight container or plastic bag at room temperature for up to 2 days. For longer storage, wrap individually and freeze for up to 3 months. Reheat in a 350°F oven until warmed through.
- → Can I make these without a stand mixer?
-
Absolutely. Knead by hand on a floured surface for 8-10 minutes until smooth and elastic. The dough should bounce back when poked and pass the windowpane test when stretched gently.
