 Save
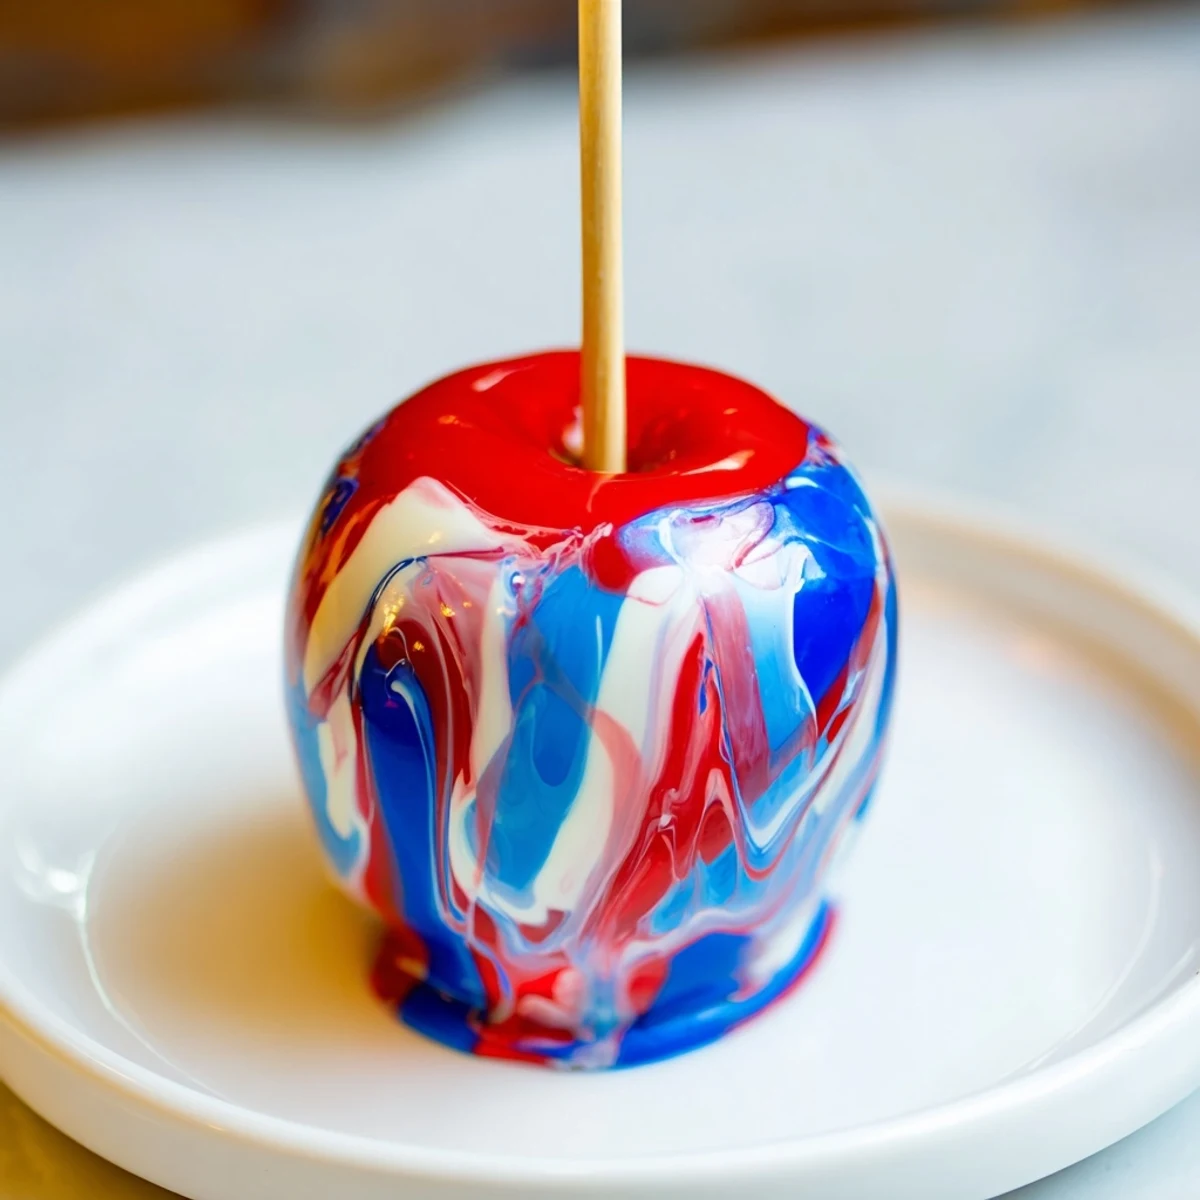
Save Create stunning marbled candy apples by dipping crisp apples into a hot sugar syrup swirled with vibrant gels. Using a candy thermometer ensures the perfect hard crack stage for a glossy finish with marbled color streaks. Let them cool on parchment for a firm, swirl-patterned coating ideal for celebrations or dessert tables. The method combines precise temperature control and quick color swirling to achieve an eye-catching treat that’s perfect for parties and special occasions.
The first time I tried making marbled candy apples, I stood over my stove watching the sugar syrup bubble, completely mesmerized by how swirling food coloring into hot candy could create something that looked like blown glass. My kitchen smelled like caramelized sugar, and I remember gripping that wooden stick with trembling hands, hoping the shell would harden before my kids burst through the back door from school. When that first apple set with its ruby and navy streaks catching the afternoon light, I felt like I'd pulled off actual magic.
I brought a batch to my nieces Halloween party last year, and the adults were hovering around the dessert table longer than the kids. Someone asked if Id bought them from some fancy boutique bakery, which made me laugh because I was still finding sticky spots on my stove backsplash from the attempt. Theres something so satisfying about serving food that makes people gasp a little, especially when you know the secret is just a few drops of gel coloring and a steady hand.
Ingredients
- 8 medium apples: Granny Smiths provide that perfect tart crunch against the sweet candy, while Fujis work if you prefer something naturally sweeter
- 8 sturdy wooden sticks: Chopsticks work in a pinch, but proper candy apple sticks give you better control and feel more substantial
- 2 cups granulated sugar: Regular white sugar creates the clearest candy shell and melts evenly without graininess
- 3/4 cup water: Helps dissolve the sugar smoothly before the water evaporates during the boiling stage
- 1/2 cup light corn syrup: This is the secret ingredient that keeps your candy shell glossy and prevents crystallization
- 1/2 tsp vanilla extract: Pure vanilla adds depth that cuts through all that sugar, though you can skip it if you want pure candy flavor
- Gel food coloring: Red, blue, and white create that gorgeous marble effect, but any combination works
Instructions
- Prep your workspace:
- Line a baking sheet with parchment paper or a silicone mat, then push sticks into the stem end of each apple until they feel secure
- Dissolve the sugar:
- Combine sugar, water, and corn syrup in a heavy-bottomed saucepan over medium heat, stirring until the sugar completely disappears
- Reach hard crack stage:
- Crank heat to high, stop stirring, and let the mixture bubble until it hits 300°F on your candy thermometer
- Create the marble:
- Remove from heat, stir in vanilla if using, then drop in your gel colors and give it just one or two gentle swirls with a skewer
- Dip and swirl:
- Hold an apple by the stick, dip it straight in, twist to coat, then lift and let the excess drip for a moment before setting it on your prepared sheet
- Let them set:
- Leave the apples alone at room temperature until the candy hardens completely, which usually takes about 15 minutes
 Save
Save My daughter now requests these for her birthday instead of cake, which I never saw coming but absolutely understand. Theres something nostalgic about candy apples that hits different than cupcakes, especially when they look like little edible art pieces.
Temperature Is Everything
I learned the hard way that undercooked candy stays tacky and overcooked candy turns into an impenetrable shell thatll crack your teeth. A candy thermometer costs less than ten dollars and saves you from the heartbreak of ruining 2 cups of sugar. Trust me on this one.
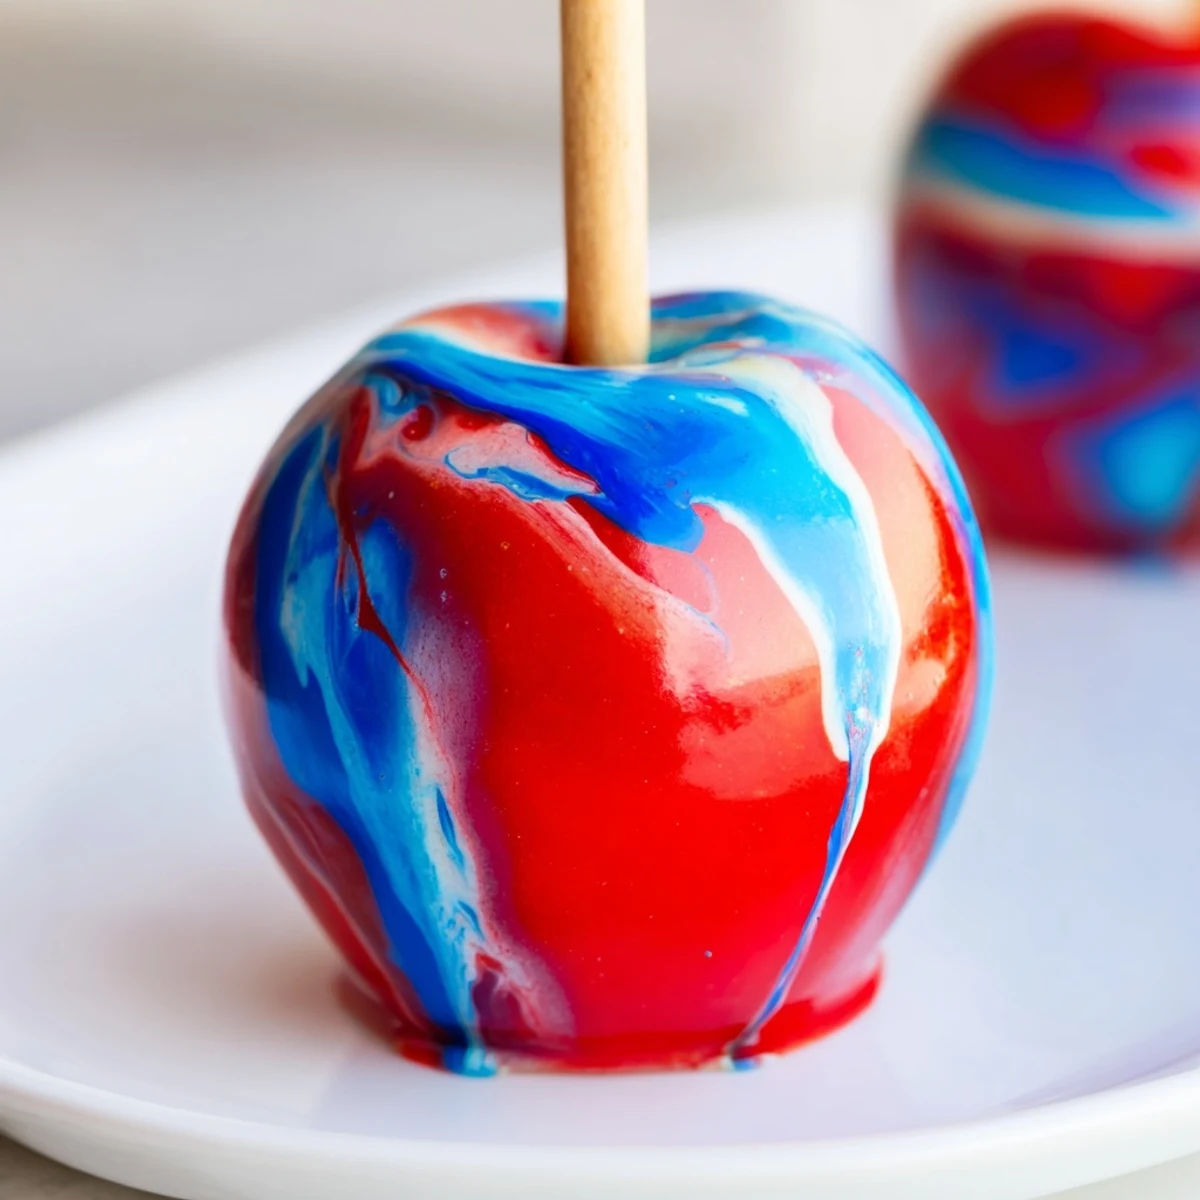
Color Combinations That Wow
Beyond the classic red, white, and blue, try orange and yellow for autumn vibes or pink and purple for something more whimsical. The key is using gel coloring instead of liquid, which keeps your candy from seizing up and gives you those rich, saturated streaks.
Working With Hot Sugar
Sugar burns are no joke, so keep a bowl of ice water nearby and resist the urge to touch the candy to test if its set. The marble effect actually works better when you dont overthink it, so embrace a little chaos in your swirling.
- If the syrup gets too thick between apples, return it to very low heat for just 30 seconds
- Leftover candy can be poured onto parchment and broken into shards for decorating other desserts
- These are best eaten within 24 hours before the apple starts releasing moisture under the shell
 Save
Save Watching someone bite into that first crunch and then their eyes light up when they see the pattern inside might just be my favorite part of making these.
Recipe FAQs
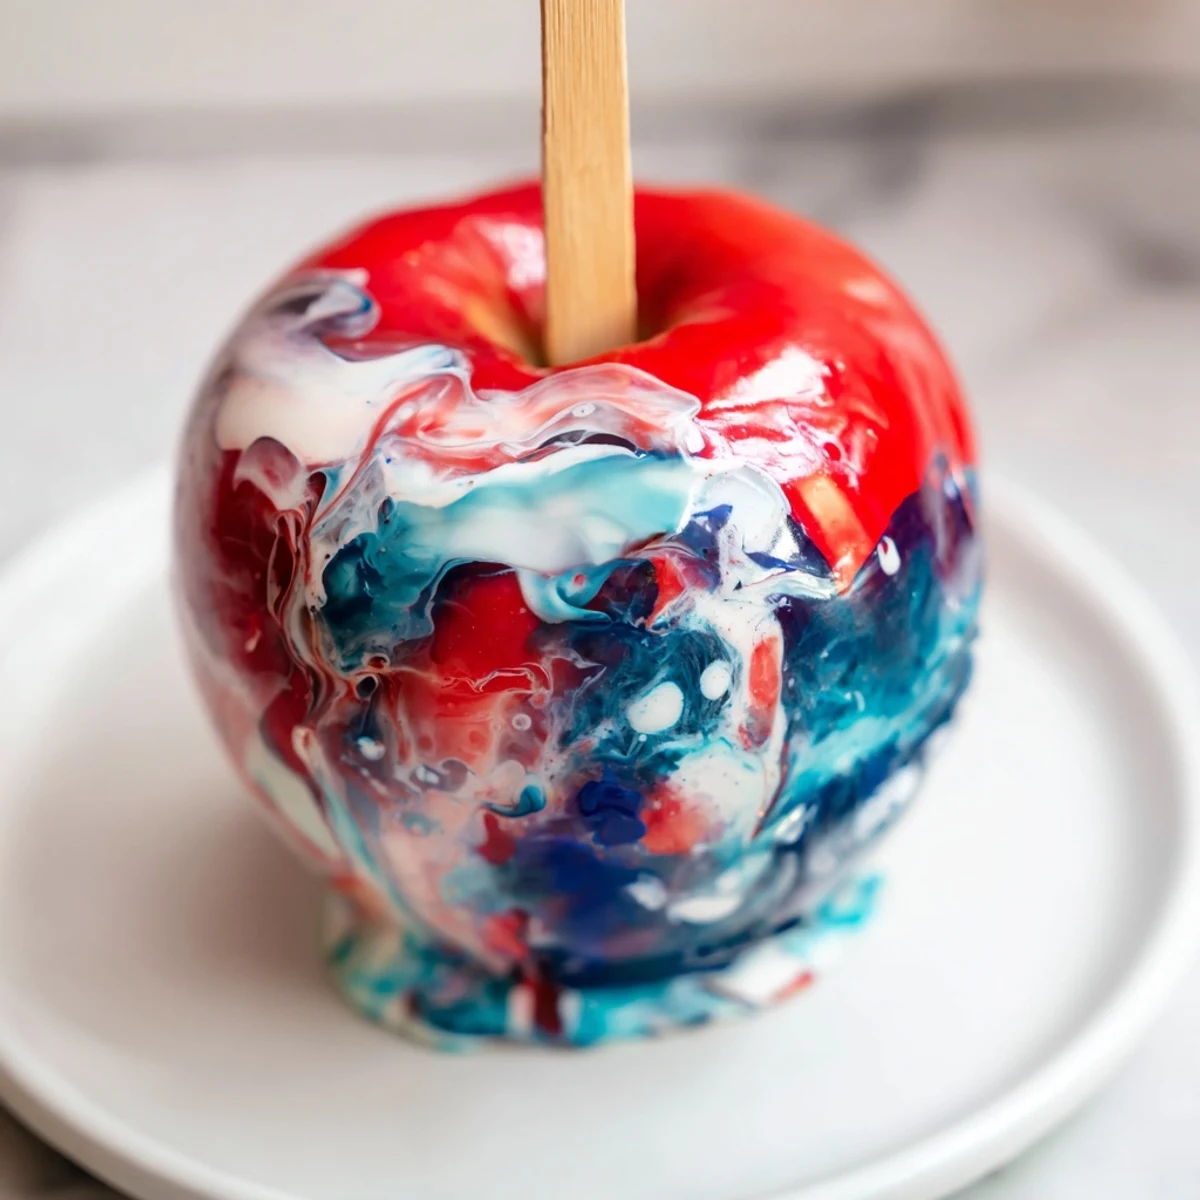
- → How do I achieve the marbled effect while coating apples?
-
After boiling the sugar syrup, add drops of different gel colors and swirl gently with a skewer. Avoid fully mixing to keep visible streaks for the marbled pattern.
- → What temperature should the sugar syrup reach?
-
Cook the syrup to the hard crack stage, about 300°F (150°C), which creates a firm and glossy candy shell.
- → Can I use different apple varieties?
-
Yes, crisp apples like Granny Smith or Fuji work best, providing a sturdy bite that complements the crunchy coating.
- → How long should coated apples cool before serving?
-
Allow apples to cool for about 15 minutes until the candy coating hardens completely.
- → What if the syrup thickens before all apples are coated?
-
Gently rewarm the syrup over low heat to restore the right consistency for dipping.
