 Save
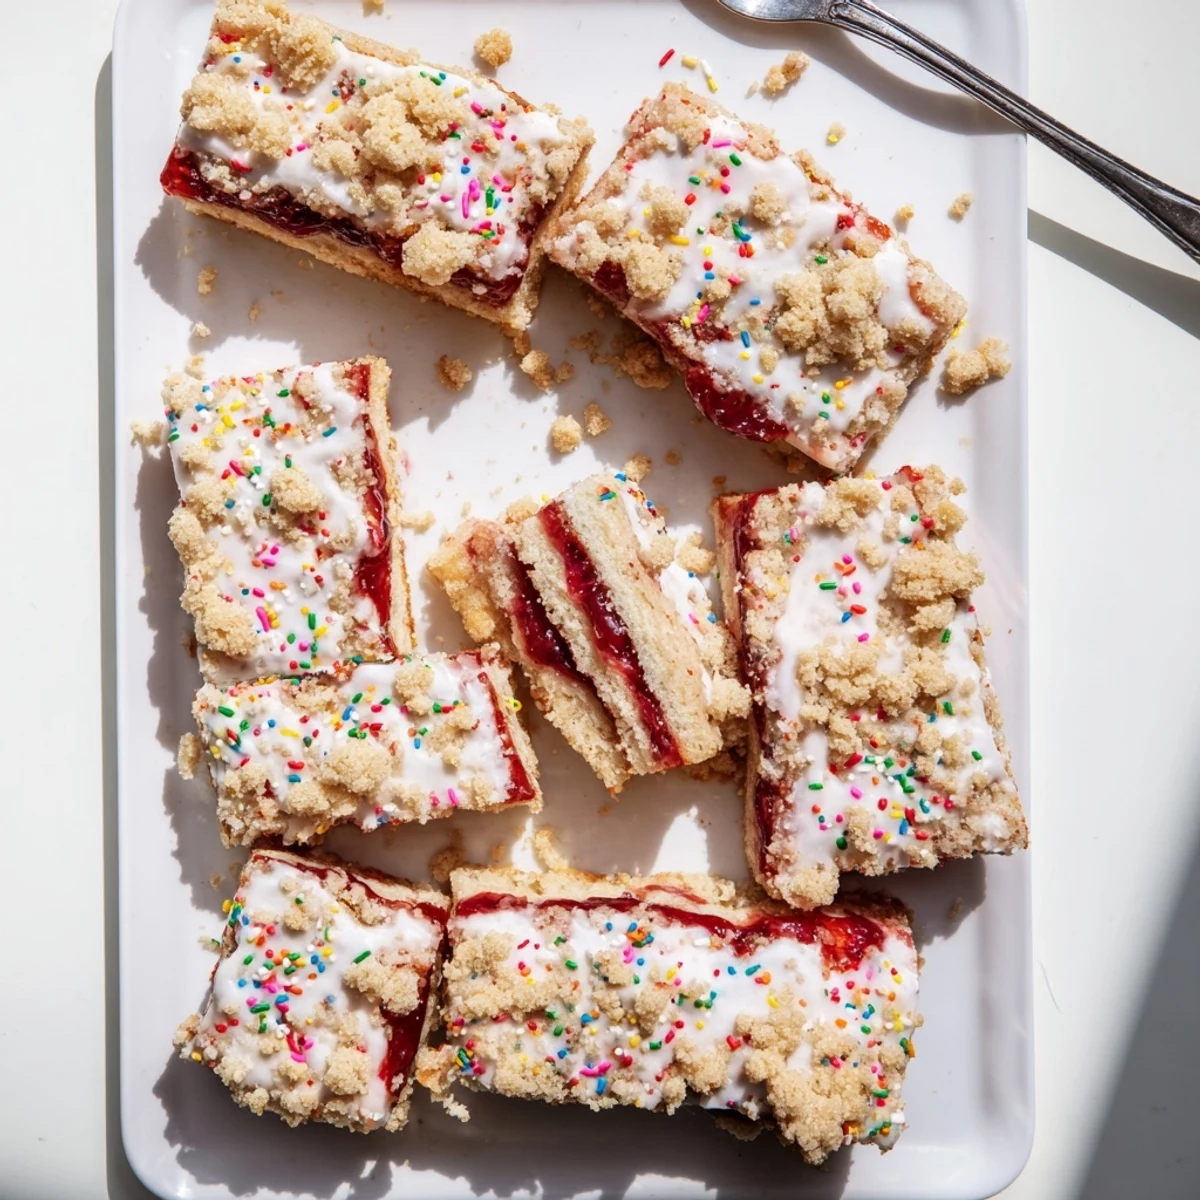
Save These dessert bars capture the nostalgic essence of classic toaster pastries with a soft, chewy sugar cookie foundation. The base gets pressed into a pan, topped generously with strawberry jam (though raspberry, blueberry, or apricot work beautifully), then crumbled with remaining dough for that signature textured topping. After baking until golden, a simple vanilla-milk glaze gets drizzled over the cooled bars while colorful sprinkles add that playful finishing touch. The result combines buttery cookie sweetness with tart fruit jam and creamy frosting—perfect for bake sales, afternoon snacks, or whenever you need a dose of childhood comfort.
Last Sunday morning, I found my kids in the pantry reaching for the shiny foil packets again. Something about that combination of soft pastry and sweet fruit filling just calls to them. I grabbed a stick of butter and decided to recreate that magic in bar form. The smell of sugar cookie dough filled the kitchen while I reminisced about elementary school breakfasts.
I brought a batch to my sister's house last month and her husband ate three before dinner. Now they request them for every birthday and celebration. Something about sprinkles just makes people happy.
Ingredients
- Unsalted butter: Make sure it is truly softened to room temperature or your dough will fight back when you try to press it into the pan
- Granulated sugar: This creates that signature crackly sugar cookie crust that everyone loves
- Large eggs: Room temperature eggs incorporate better and prevent the dough from separating
- Pure vanilla extract: Do not skimp here since vanilla is what bridges the gap between cookie and pastry
- All-purpose flour: Spoon and level your flour instead of scooping directly to avoid dense bars
- Baking powder: Just enough to give the cookie layer a slight lift without becoming cakey
- Salt: Balances the sweetness and makes all the flavors pop
- Strawberry jam: Use a high-quality jam with pieces of fruit for better texture and flavor pockets
- Powdered sugar: Sift it first to avoid any lumps in your glaze
- Milk: Start with two tablespoons and add more only if needed to reach pouring consistency
- Sprinkles: Add these immediately after glazing or they will slide right off
Instructions
- Get your oven ready:
- Preheat to 350°F and line a 9x13-inch pan with parchment paper leaving those flaps hanging over the sides like handles
- Cream the butter and sugar:
- Beat them together until the mixture turns pale and fluffy which takes about three minutes of serious mixing
- Add the eggs and vanilla:
- Drop in one egg at a time letting each fully incorporate before adding the next then pour in your vanilla
- Whisk the dry ingredients:
- In a separate bowl combine flour baking powder and salt so they are evenly distributed
- Combine everything:
- Gradually mix the dry ingredients into the wet stopping as soon as the flour streaks disappear
- Press in the base layer:
- Take about two-thirds of your dough and press it firmly into the bottom of your prepared pan using your hands or the bottom of a measuring cup
- Spread the jam:
- Dollop your strawberry jam over the dough and gently spread it leaving a tiny border around the edges so it does not bubble over
- Add the topping:
- Crumble the remaining dough over the jam in irregular patches pressing lightly so it adheres
- Bake until golden:
- Slide the pan into the oven for 23 to 27 minutes until the edges are lightly golden and the center looks set
- Cool completely:
- Let the bars rest in the pan on a wire rack until they are completely cool to the touch
- Make the glaze:
- Whisk powdered sugar milk and vanilla until you have a smooth pourable consistency
- Glaze and sprinkle:
- Drizzle the glaze back and forth over the cooled bars and immediately shower with sprinkles before it sets
- Cut and serve:
- Wait 15 minutes for the glaze to firm up then use the parchment handles to lift the whole batch out and cut into squares
 Save
Save My niece asked if we could add rainbow sprinkles instead of the red ones I had bought. We made them together and she insisted on standing guard by the oven watching through the glass door.
Choosing Your Jam Flavor
Strawberry is classic but raspberry brings a lovely tartness that cuts through the sweet cookie layer. Apricot works beautifully if you want something more subtle while mixed berry creates those gorgeous purple swirls that look impressive. Just avoid any jams with large chunks of fruit that might make cutting difficult.
Getting the Crumble Right
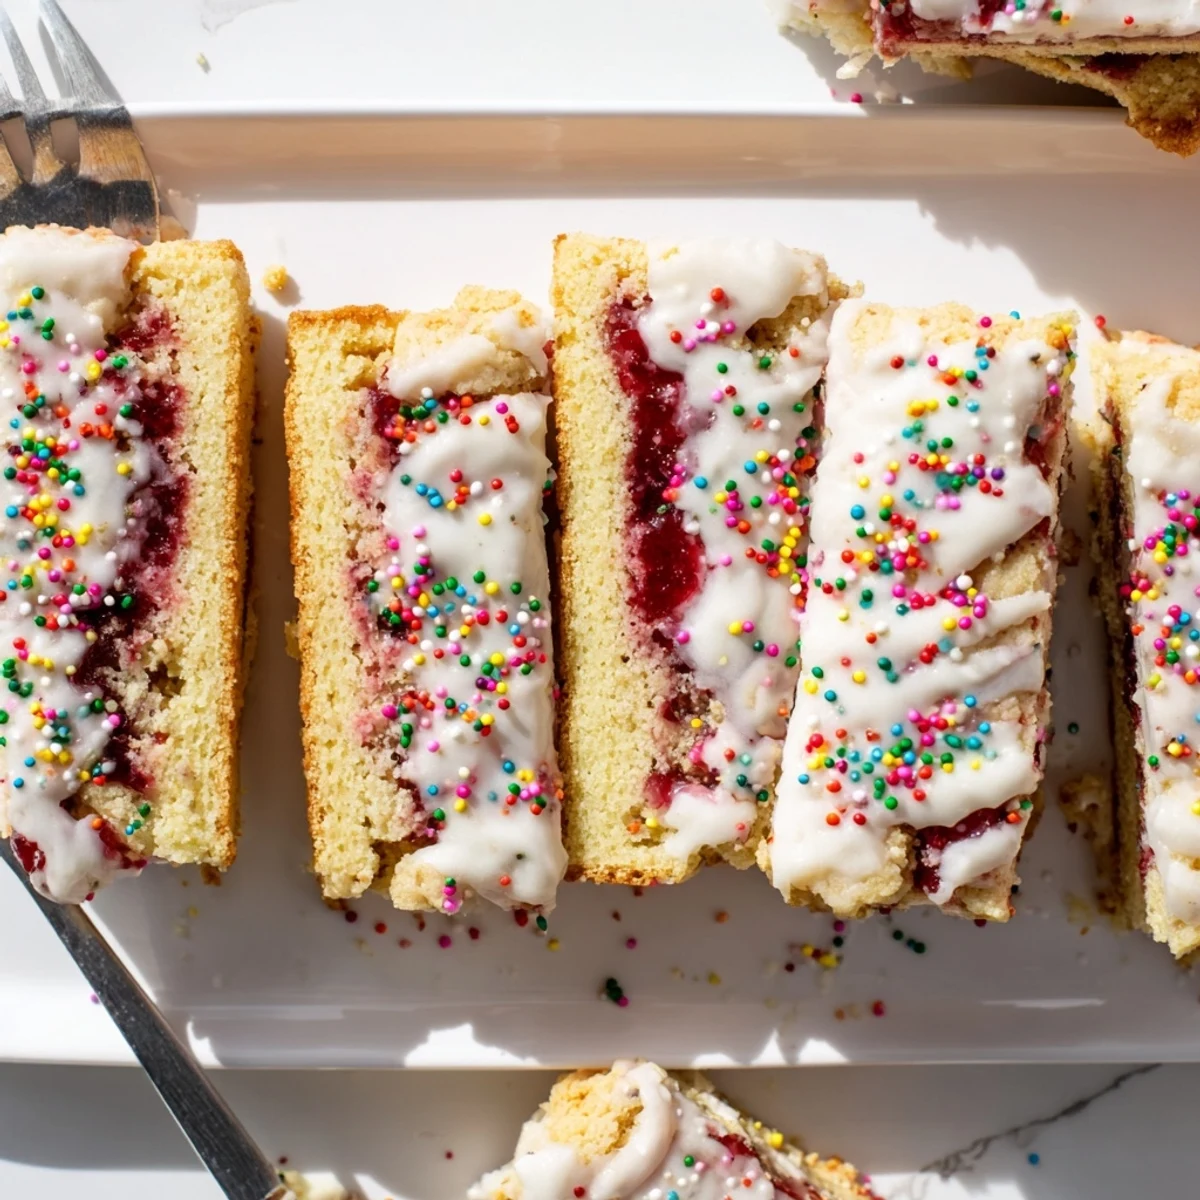
The secret is keeping the crumble pieces in varying sizes from tiny crumbs to larger marble-sized chunks. This texture contrast is what makes these bars feel special. Pinch pieces of dough between your fingers and let them fall naturally rather than trying to make them uniform.
Making Them Your Own
Once you have mastered the basic formula these bars become a canvas for creativity. The cookie base pairs well with so many flavors and textures.
- Try adding a teaspoon of almond extract to the dough for a bakery-style twist
- Mix mini chocolate chips into the crumble topping for an extra layer of indulgence
- Sprinkle flaky sea salt over the wet glaze for that sweet and salty combination everyone loves
 Save
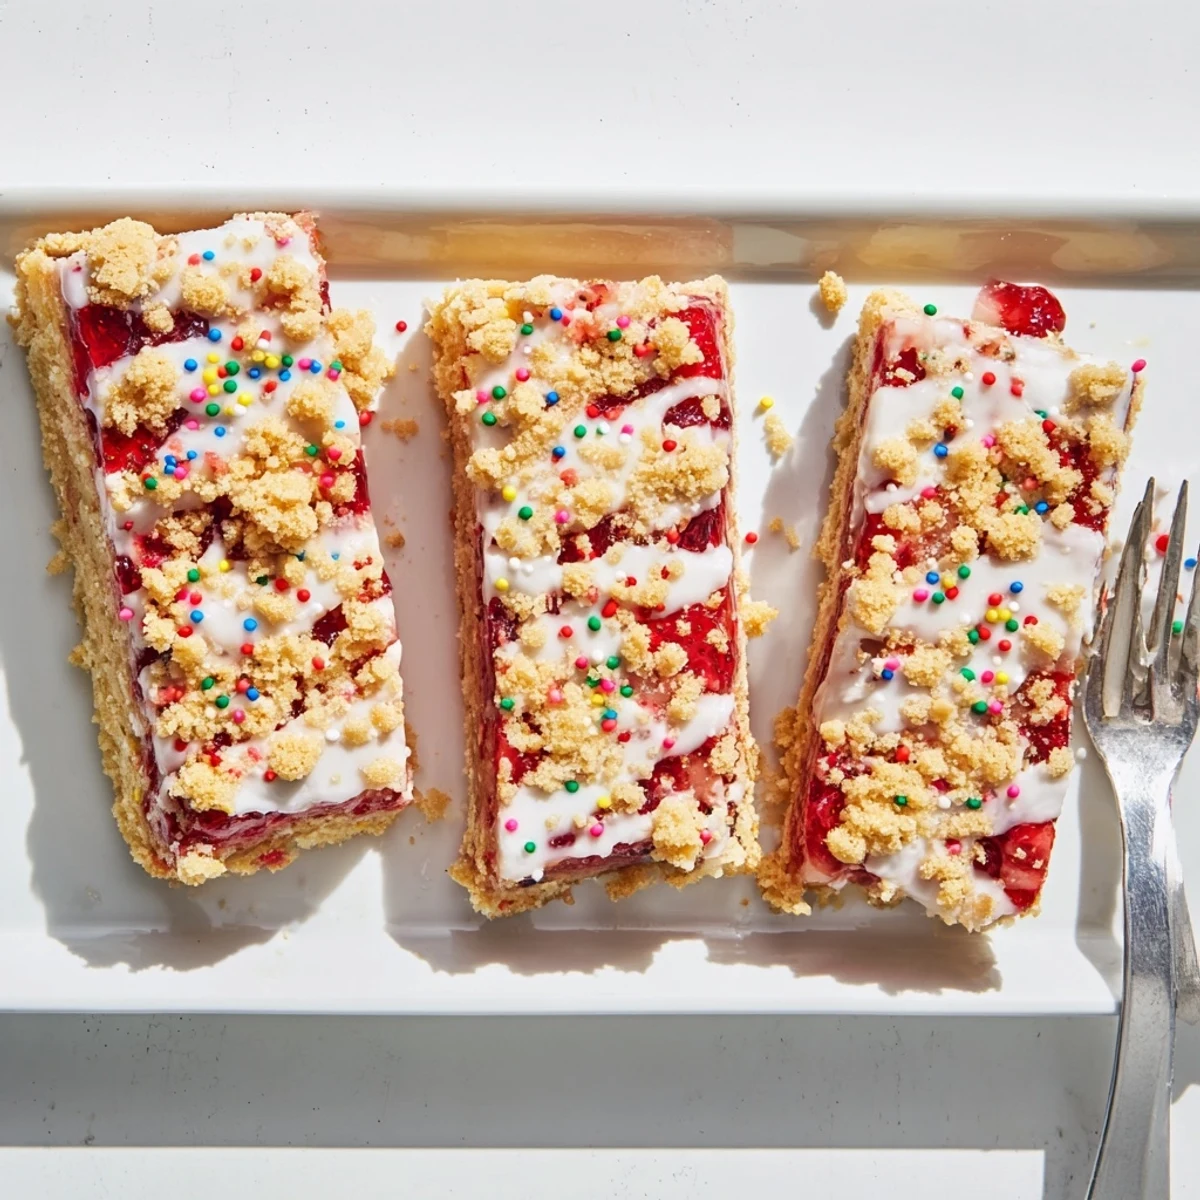
Save These bars keep beautifully in the refrigerator for up to five days though they rarely last that long in my house. The glaze firms up nicely overnight making them even easier to pack for lunchboxes or picnic treats.
Recipe FAQs
- → Can I use different jam flavors?
-
Absolutely. While strawberry jam provides classic fruit flavor, try raspberry, blueberry, apricot, or even cherry for variety. Each brings its own sweetness and tartness profile to the bars.
- → How should I store these bars?
-
Keep in an airtight container at room temperature for up to 3 days. The glaze may soften slightly over time but remains delicious. For longer storage, refrigerate for up to a week, though bring to room temperature before serving for best texture.
- → Can I make these gluten-free?
-
Yes. Substitute the all-purpose flour with a reliable 1:1 gluten-free flour blend. The texture remains remarkably similar, though baking time may vary by a few minutes—check for golden edges as your indicator.
- → Why press only part of the dough into the pan?
-
Reserving one-third of the dough creates the crumbled topping layer that mimics the textured pastry crust of traditional toaster pastries. This technique ensures both a sturdy base and that characteristic crumbly, buttery topping.
- → Can I freeze these bars?
-
Freeze undecorated bars (before glaze and sprinkles) for up to 3 months, wrapped tightly in plastic and foil. Thaw overnight, then add fresh glaze and sprinkles before serving. Previously glazed bars don't freeze well as the frosting becomes watery upon thawing.
- → What size pan works best?
-
A standard 9x13-inch pan creates ideal thickness—substantial enough to hold together but not so thick that dough remains underbaked. Adjust baking time slightly if using a different pan size, watching for golden edges as your visual cue.
