 Save
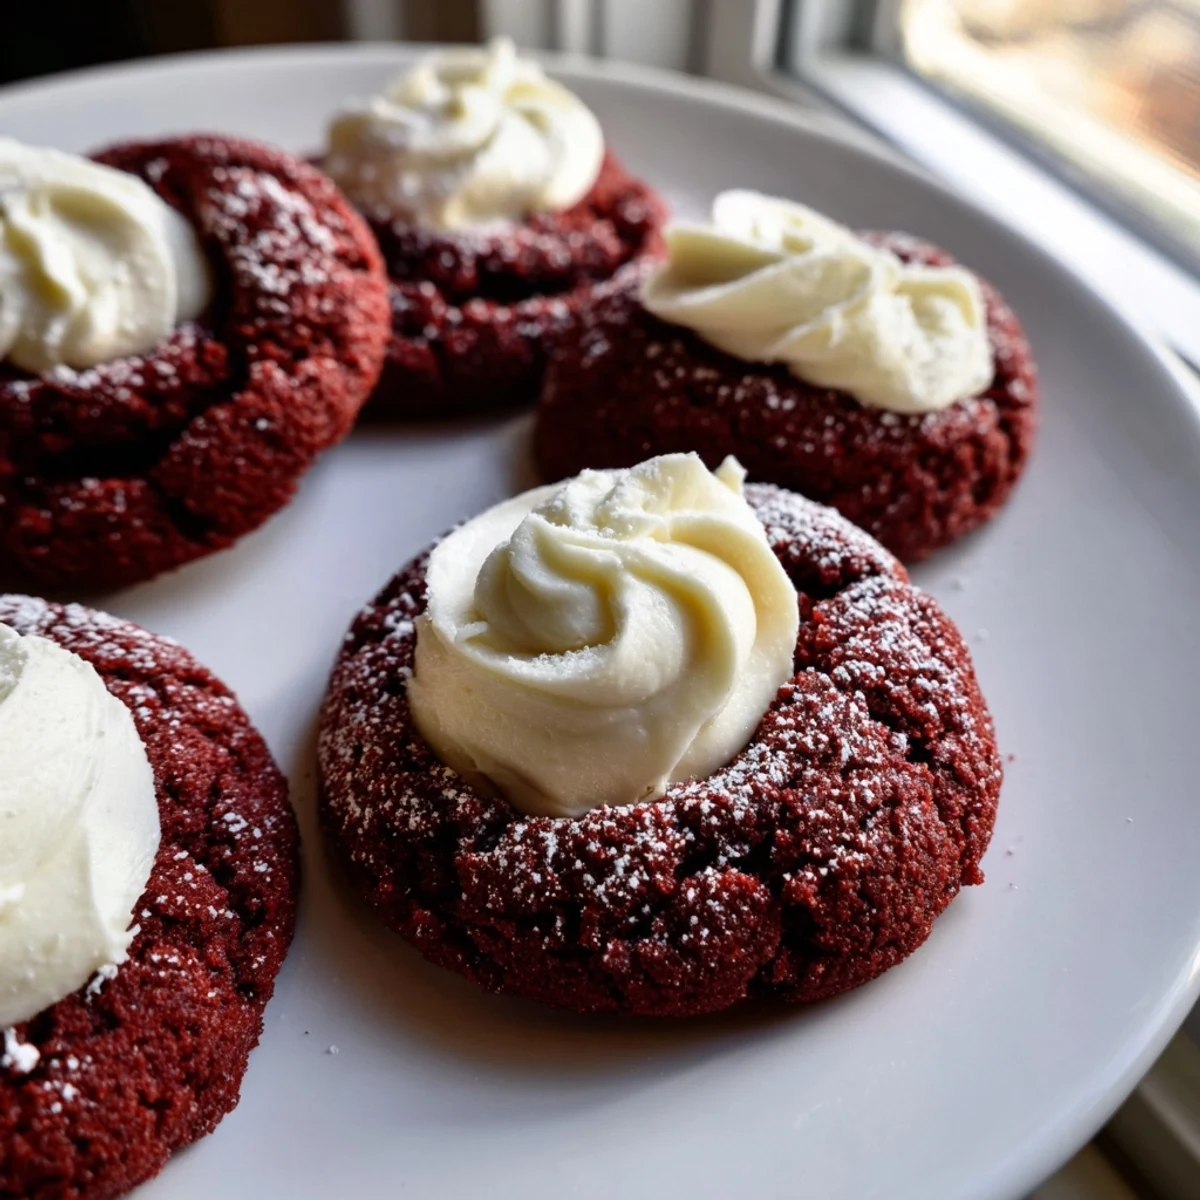
Save These delicate red velvet thumbprint cookies combine the classic cocoa flavor and vibrant color of red velvet with a tender, melt-in-your-mouth texture. Each cookie features a central indentation filled with smooth cream cheese frosting, though white chocolate ganache works beautifully too.
The dough comes together quickly with just 20 minutes of prep time, and the cookies bake in about 12 minutes until the edges are set. The result is 24 stunning two-bite treats that look impressive on any dessert platter.
For holidays, add festive sprinkles or crushed candy canes on top of the filling before baking. The cookies store well in the refrigerator for up to 4 days, making them perfect for make-ahead entertaining.
The most vivid red I have ever seen in my kitchen came from these cookies. I was experimenting with red velvet for a Christmas party and my daughter said they looked like tiny velvet pillows with snow on top. That description stuck with me every time I make them now.
My neighbor asked for the recipe after just one bite at our annual cookie exchange last winter. She said they were the kind of cookie that makes people stop talking and just enjoy. There is something magical about that combination of chocolate and cream cheese.
Ingredients
- All purpose flour: The foundation that gives these cookies their structure while keeping them tender
- Unsweetened cocoa powder: Essential for that classic red velvet depth without overpowering sweetness
- Baking soda: Helps the cookies puff slightly and creates those perfect cracked edges
- Salt: A pinch enhances the chocolate flavor and balances the sweetness
- Unsalted butter: Room temperature butter creates the perfect creamy base for the dough
- Granulated sugar: Sweetens while creating that slightly crisp exterior we love
- Egg yolk: Adds richness and helps create the tender crumb texture
- Whole milk: Brings everything together and adds moisture
- Vanilla extract: Pure vanilla makes both the cookie and filling sing
- Red food coloring: Gives that signature red velvet hue that makes these cookies unforgettable
- Cream cheese: The star of the filling creating that tangy creamy center
- Powdered sugar: Sweetens the filling without making it grainy
Instructions
- Preheat your oven:
- Set it to 350°F and line your baking sheets with parchment paper so nothing sticks
- Whisk the dry ingredients:
- Combine flour cocoa powder baking soda and salt in a medium bowl until well blended
- Cream the butter and sugar:
- Beat them together for about 2 minutes until light and fluffy
- Add the wet ingredients:
- Mix in the egg yolk milk vanilla and red food coloring until everything is incorporated
- Combine the dough:
- Gradually stir in the dry ingredients just until combined being careful not to overmix
- Make the filling:
- Whisk cream cheese powdered sugar and vanilla in a small bowl until smooth and set aside
- Shape the cookies:
- Roll dough into 1 inch balls and place them 2 inches apart on your prepared baking sheets
- Create the indentations:
- Gently press your thumb or a teaspoon into the center of each ball to make a well
- Fill the centers:
- Spoon about half a teaspoon of cream cheese filling into each indentation
- Bake to perfection:
- Bake for 11 to 13 minutes until the edges look set and the filling is slightly firm
- Cool completely:
- Let them rest on the baking sheet for 5 minutes then move to a wire rack
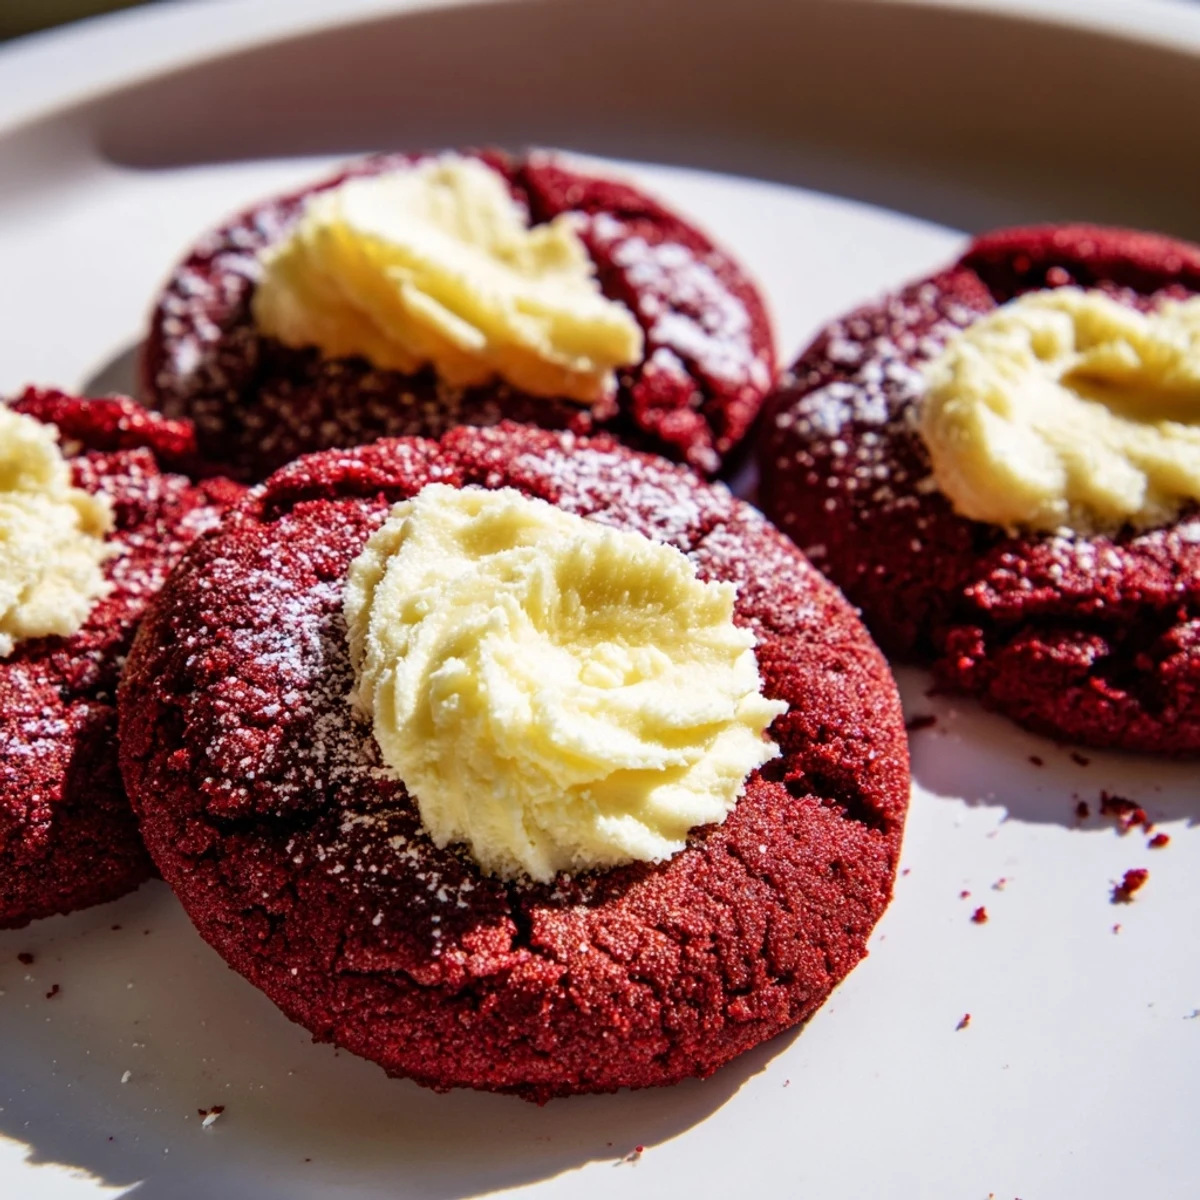 Save
Save These cookies became our Christmas tradition after that first successful batch. Now my daughter helps me fill the centers and we always save a few for ourselves before sharing with neighbors.
Making Them Ahead
You can make the dough balls and freeze them unbaked for up to a month. Just add an extra minute to the baking time when you bake them from frozen.
Filling Variations
White chocolate ganache works beautifully if you want something sweeter and less tangy. Simply melt white chocolate with a touch of heavy cream and let it cool before filling.
Serving Suggestions
These cookies shine brightest when served at room temperature so the filling is soft and creamy. They pair wonderfully with a cup of coffee or glass of cold milk.
- Add festive sprinkles right after baking while the filling is still soft
- Dust with powdered sugar for an elegant finish
- Store them in the refrigerator since the cream cheese filling needs to stay cold
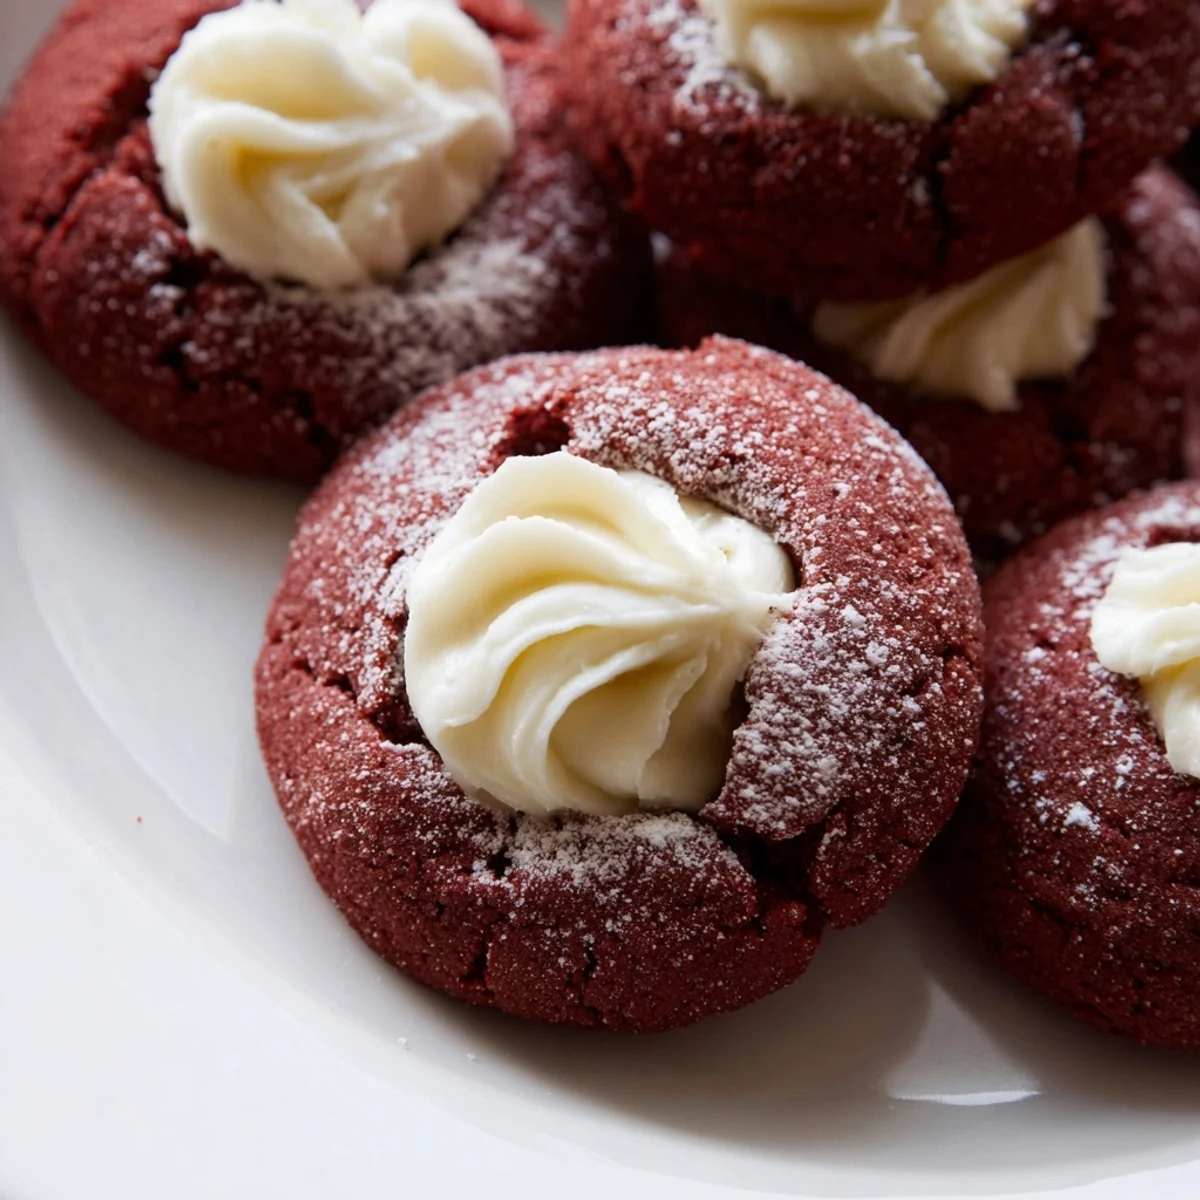 Save
Save These red velvet thumbprints have become the most requested treat in my house. There is something about that first bite when you get the chocolate cookie and creamy filling together that just works.
Recipe FAQs
- → What makes these cookies red velvet?
-
The combination of cocoa powder and red food coloring creates the signature red velvet flavor and appearance. The cocoa provides a subtle chocolate undertone while the food coloring gives the vibrant red hue these treats are known for.
- → Can I use white chocolate instead of cream cheese filling?
-
Absolutely! White chocolate ganache makes an excellent alternative filling. Simply melt white chocolate with a bit of heavy cream and fill the indentations before baking. The result is equally decadent.
- → How do I store these thumbprint cookies?
-
Keep the cookies in an airtight container in the refrigerator for up to 4 days. The cream cheese filling requires refrigeration to stay fresh. Bring to room temperature for about 15 minutes before serving for the best texture.
- → Why do my cookies spread too much in the oven?
-
Over-softened butter or warm dough can cause excessive spreading. Make sure your butter is softened to room temperature but not melted, and chill the dough balls for 10-15 minutes before baking if your kitchen is warm.
- → Can I make these cookies ahead of time?
-
Yes, you can prepare the dough and filling up to 2 days in advance. Store them separately in the refrigerator. Roll, fill, and bake when ready to serve for the freshest results.
- → What other fillings work well?
-
Beyond cream cheese and white chocolate, try filling with Nutella, raspberry jam, lemon curd, or even peanut butter. Just keep in mind that fruit fillings may make the cookies softer.
