 Save
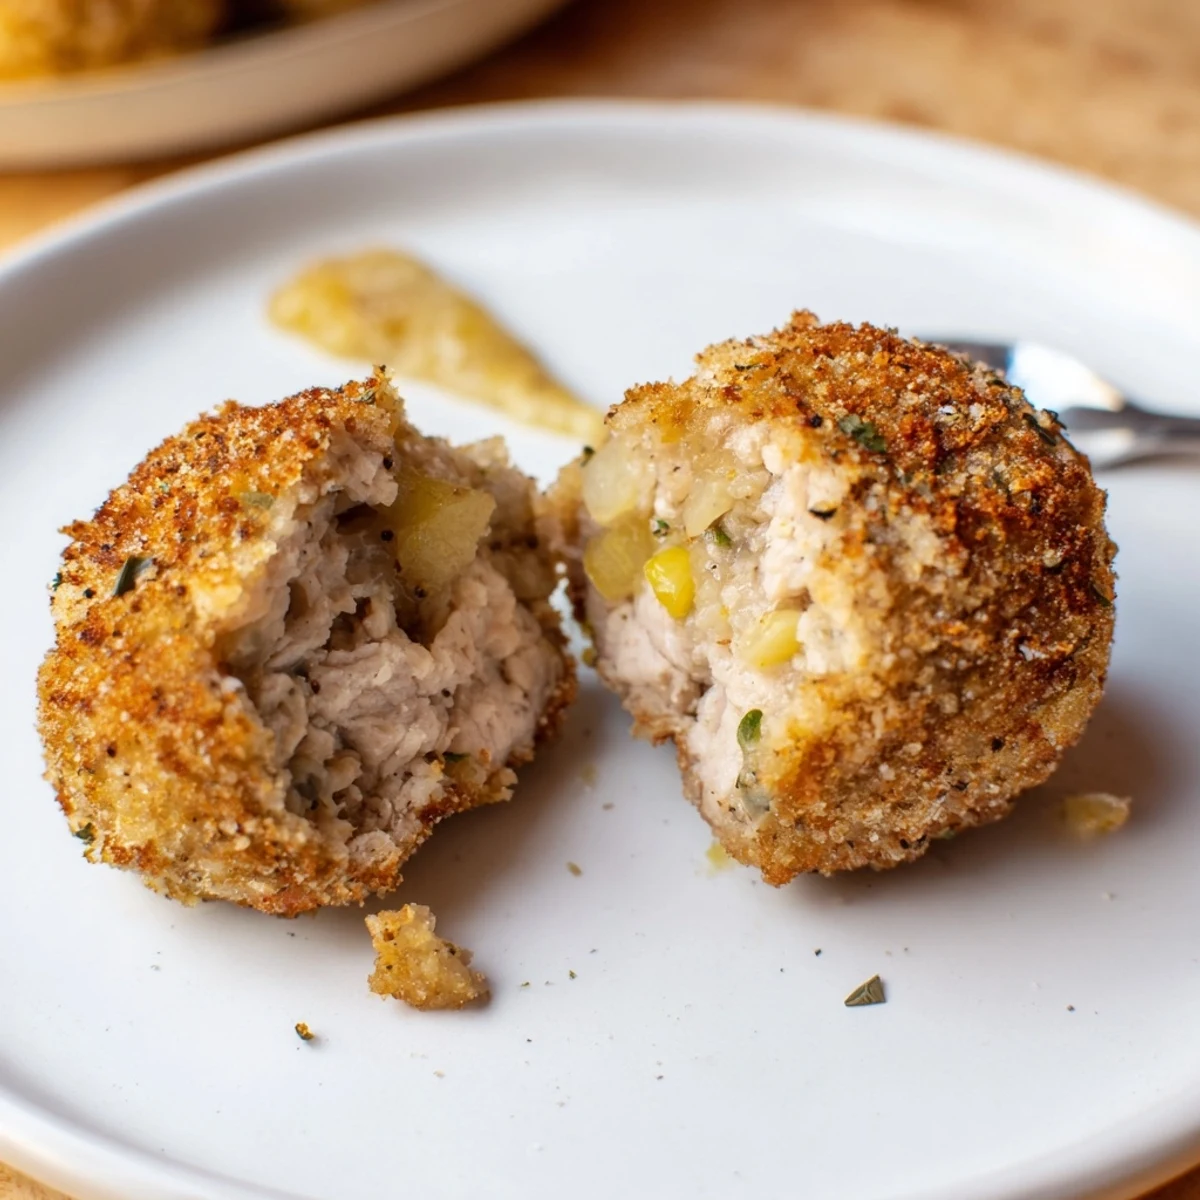
Save This method yields about 20 golden, baked chicken balls that stay moist thanks to thigh meat, an egg binder and breadcrumbs. Sautéed onion and garlic are folded into ground chicken with fresh sage and thyme, shaped and baked at 200°C (400°F) for 20–25 minutes until 74°C/165°F. Swap in gluten-free crumbs, chill before baking to hold shape, and serve with honey-mustard or cranberry sauce.
There’s something quietly thrilling about hearing the sizzle of onions hitting the skillet as the day’s light softens outside. Sage Onion Chicken Balls weren’t on my radar until a friend, mid-conversation about easy dinners, insisted I try her quirky adaptation of a British pub classic. The first time I shaped them, the kitchen filled with an herby sweetness I’d only dreamed about. It became one of those recipes that surprised me with its simple magic.
I still remember standing in my too-small kitchen one autumn Tuesday, nervously arranging these chicken balls for my book club. Someone asked what was in them as the aroma of sage drifted across the room, and suddenly everyone was laughing, dipping, and reaching for seconds before I could even sit down. Making these for others now always reminds me how food pulls people together faster than any icebreaker ever could.
Ingredients
- Ground chicken (preferably thigh meat): Thigh meat adds richer flavor and stays moist—don’t be tempted to swap for lean breast or the texture just isn’t the same.
- Onion, finely diced: Sautéing softens its sharpness and brings out a gentle sweetness—let it cool so you don’t scramble the egg.
- Garlic cloves, minced: The smallest bit goes a long way toward deepening every bite without overpowering the sage.
- Fresh sage (or dried): Sage is the heart of this dish; if using dried, dial back to avoid bitterness.
- Salt & black pepper: Even seasonings matter—add and taste gently but confidently.
- Dried thyme: A pinch rounds out the herbs and echoes classic British flavors.
- Nutmeg (optional): Just the tiniest sprinkle gives warmth, but skip it if you prefer things strictly savory.
- Breadcrumbs (regular or gluten-free): These bind everything without making the texture bready—don’t pack them in tight.
- Large egg: Lightly beaten, it keeps the mixture together without making it stiff.
- Olive oil: For sautéing and brushing the tops, a little makes the edges golden and irresistible.
Instructions
- Get the oven ready:
- Preheat your oven to 200°C (400°F) and line a baking tray with parchment or brush it with olive oil—this makes for a quick, stress-free cleanup.
- Sauté aromatics:
- Heat 1 tbsp olive oil in a skillet, add onions, and let them sizzle until soft and fragrant, about 3–4 minutes; toss in garlic and let the aroma fill the kitchen for one more minute.
- Mix chicken and flavor base:
- In a bowl, combine ground chicken, sautéed onion-garlic, sage, thyme, salt, pepper, and that sneaky pinch of nutmeg if using—mix gently, as overworking makes them tough.
- Add binders:
- Tip in the breadcrumbs and beaten egg; fold together just until you have a sticky, slightly loose mixture you can form into balls.
- Shape the chicken balls:
- Wet your hands to prevent sticking, then roll generous tablespoons of mixture and place each on the prepared baking tray, making about 20 balls.
- Brush with oil:
- Drizzle or brush the chicken balls with the remaining olive oil—a little shine helps create that golden, crispy outside.
- Bake to perfection:
- Slide the tray into the oven for 20–25 minutes, turning halfway, until each ball is gloriously brown and the middle is steaming hot (74°C/165°F if you’re checking temperature).
- Serve your way:
- Let them cool just a moment, then serve with your favorite dip, nestle inside a wrap, or pair with simple sides.
 Save
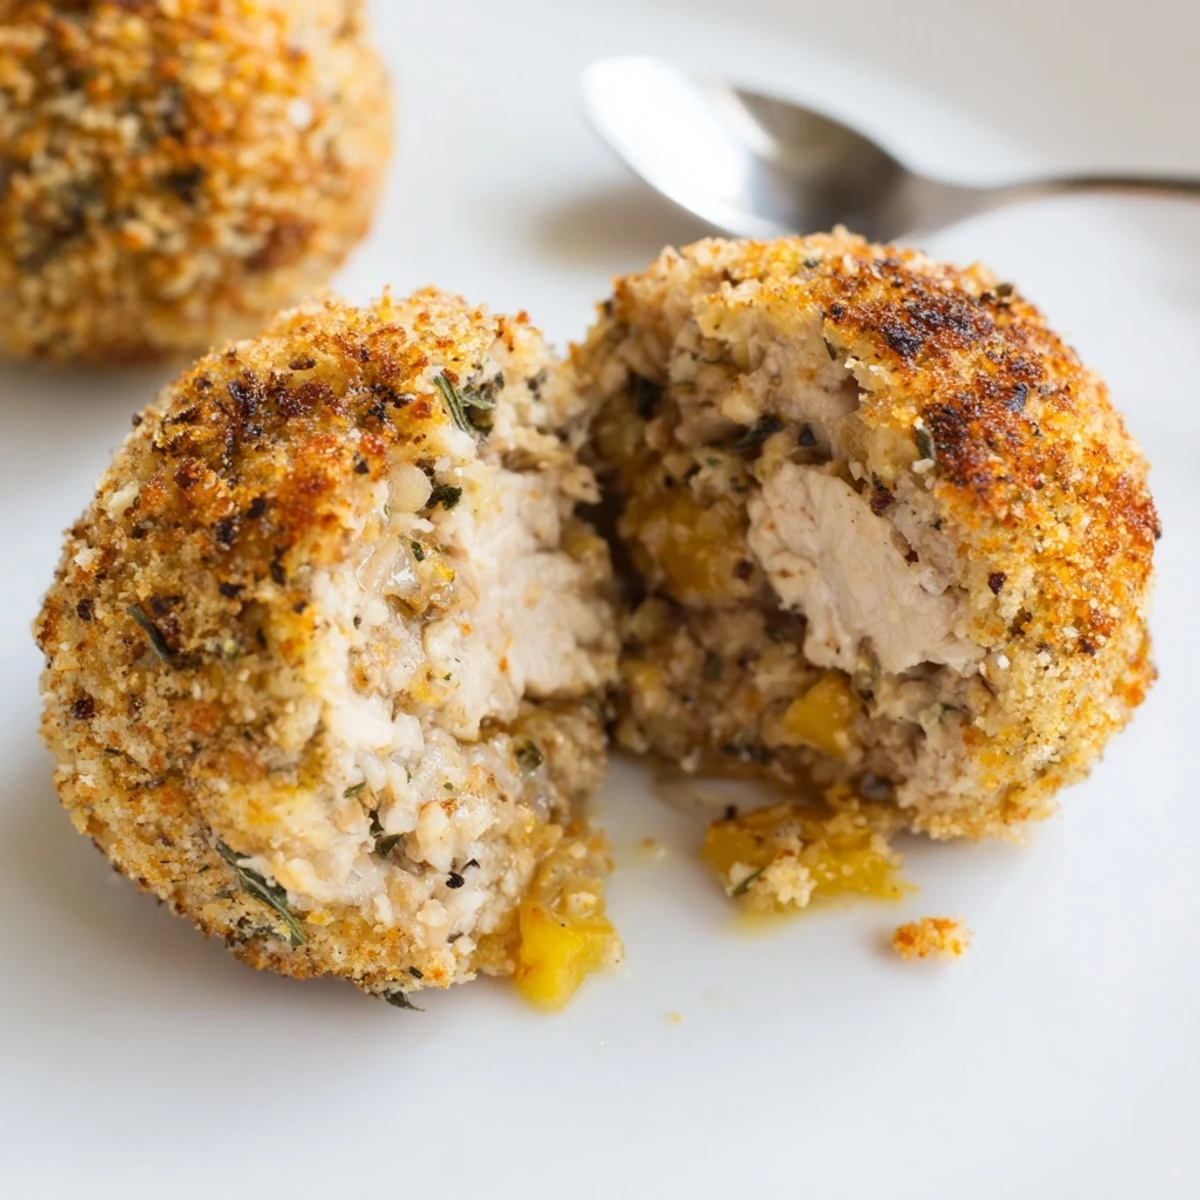
Save The night these chicken balls outshone the main course at a casual friends’ dinner, it hit me: even humble recipes have a way of stealing the spotlight when made with care. Seeing everyone hunting for the last one on the tray is a scene that sticks in my memory far more than any fancy dessert ever could.
Sauces and Pairings for Every Mood
A dollop of honey-mustard always brings out the nutty notes of sage, but don’t underestimate what a good cranberry sauce or simple garlic yogurt can do. Sometimes I toss a few balls with roasted root vegetables or tuck them into a fluffy wrap with lettuce for a lunch that feels like a treat.
Gluten-Free Notes & Allergen Swaps
If you’re cooking for gluten-sensitive guests, grab the gluten-free breadcrumbs (they work like a charm) and double-check your ingredients’ labels. Skipping other common allergens isn’t tricky here, but always read up if someone’s extra sensitive—little swaps make everyone feel included.
Chicken Ball Troubleshooting and Quick Fixes
When the mixture feels too sticky, a sprinkle more breadcrumbs saves the day—just add slowly and don’t panic. If your hands stick, dampen them with water before rolling, which somehow makes the job satisfying instead of messy. Overbaking dries them out, so trust your eyes and check early if your oven runs hot.
- Shaping smaller balls means more crispy bits per batch.
- Making ahead? Reheat gently covered so they stay moist.
- Freeze leftovers individually for speedy weeknight meals.
 Save
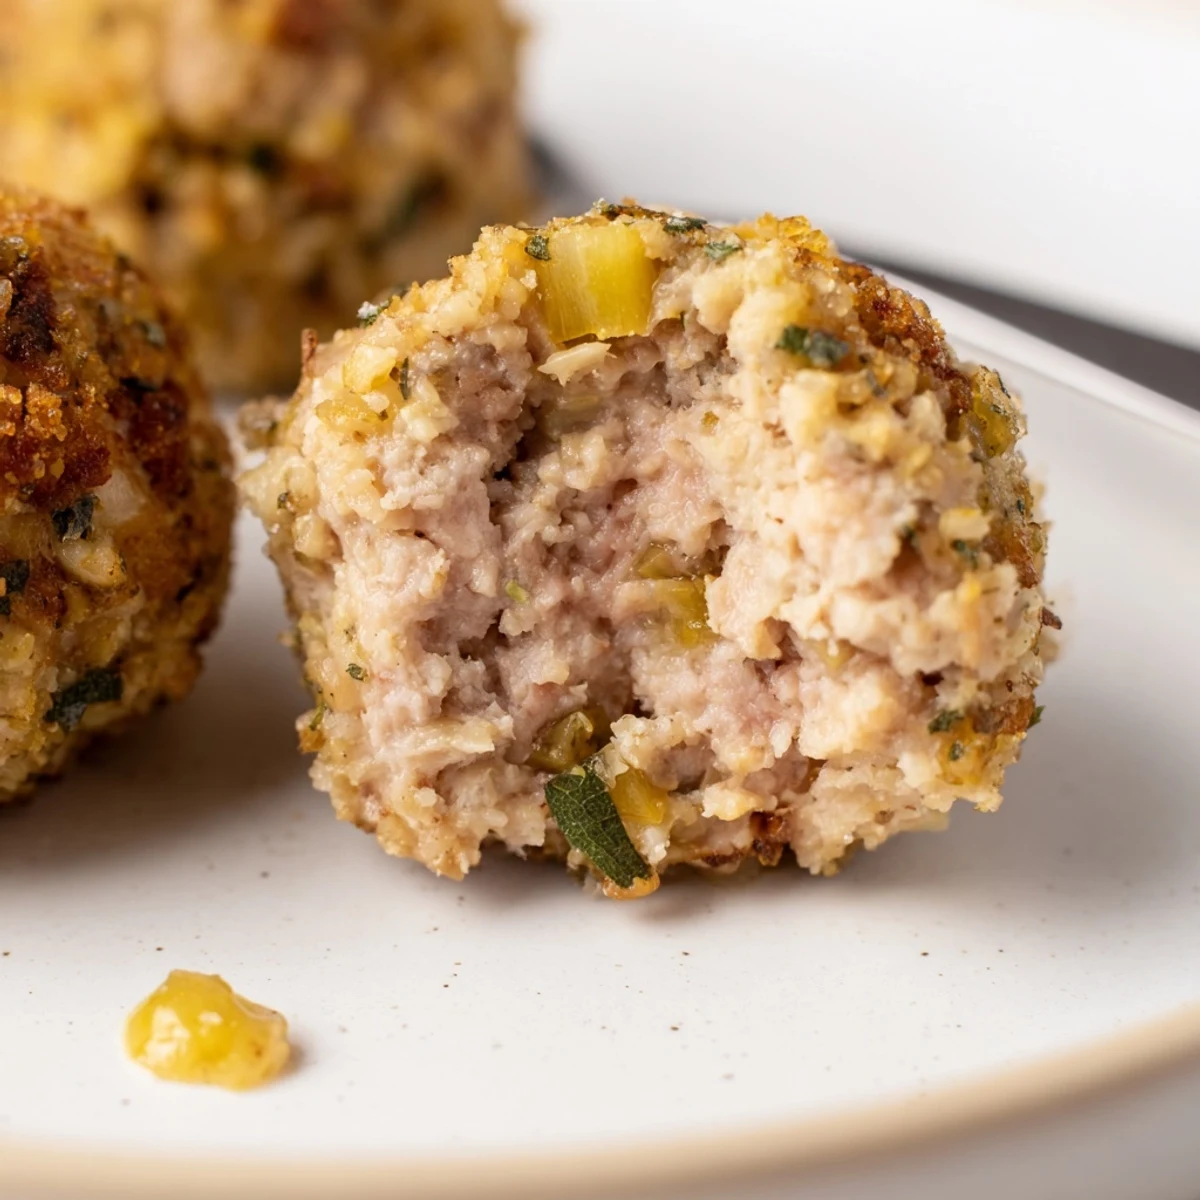
Save There’s no need for fuss or fancy plating—just serve these up hot, and watch them disappear. Here’s to finding joy in the simplest kitchen victories.
Recipe FAQs
- → What internal temperature signals doneness?
-
Cook until the center reaches 74°C (165°F). Use an instant-read thermometer inserted into a ball's center to ensure safe, juicy results.
- → How do I keep the chicken balls moist?
-
Use thigh meat or a mix of dark and light chicken, avoid overmixing, include an egg and breadcrumbs as binders, and brush with oil before baking to retain moisture.
- → Can I make a gluten-free version?
-
Yes—substitute gluten-free breadcrumbs or crushed gluten-free crackers. Check labels on all ingredients to avoid hidden gluten in seasonings or additives.
- → Will they hold together without chilling?
-
Chilling the shaped balls for 15–30 minutes firms the mixture and helps prevent falling apart during baking, especially if the mix feels loose.
- → Can these be pan-fried instead of baked?
-
Yes. Brown in a skillet over medium heat, turning to color all sides, then finish in the oven or lower the heat and cover to cook through. Adjust time until internal temp reaches 74°C/165°F.
- → How should leftovers be stored and reheated?
-
Refrigerate in an airtight container for up to 3 days or freeze for 2–3 months. Reheat in a 180°C (350°F) oven for 10–15 minutes from chilled, longer if frozen, until warmed through.
