 Save
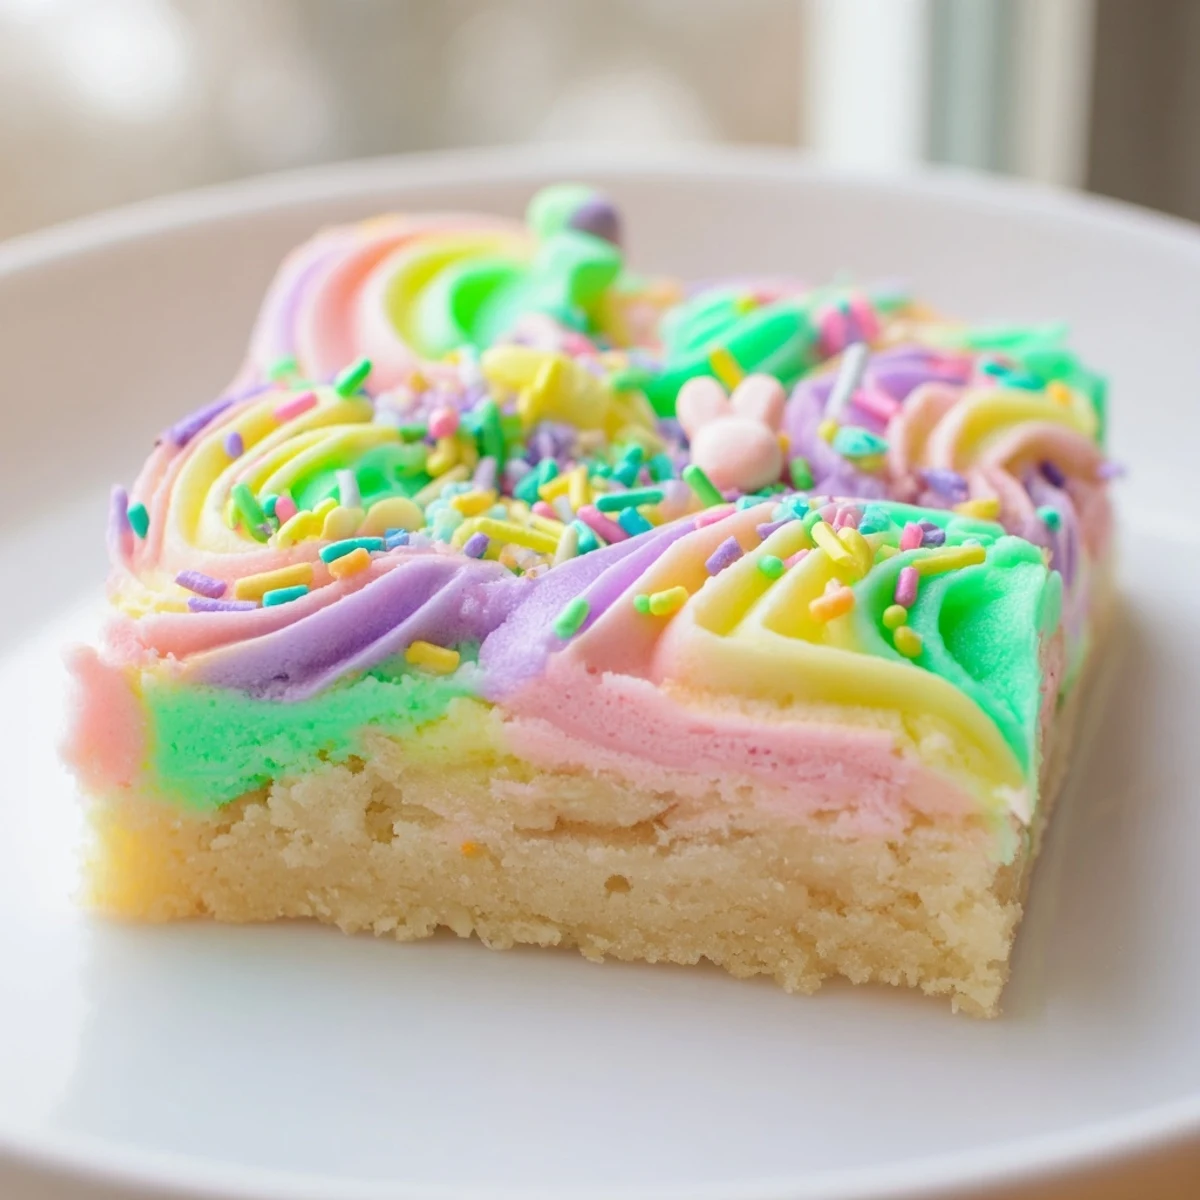
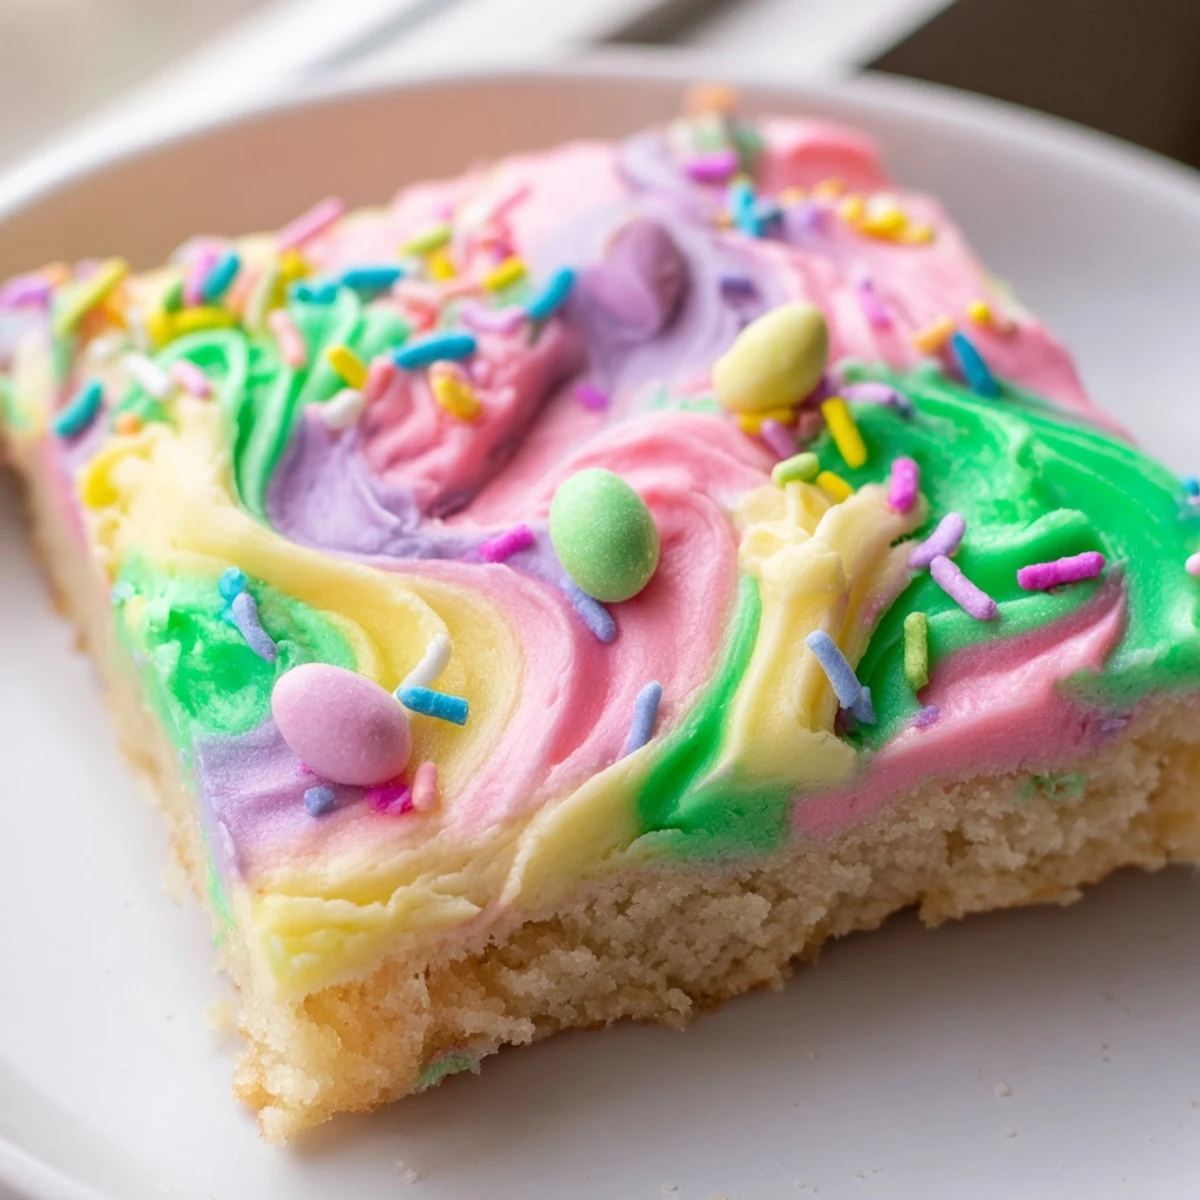
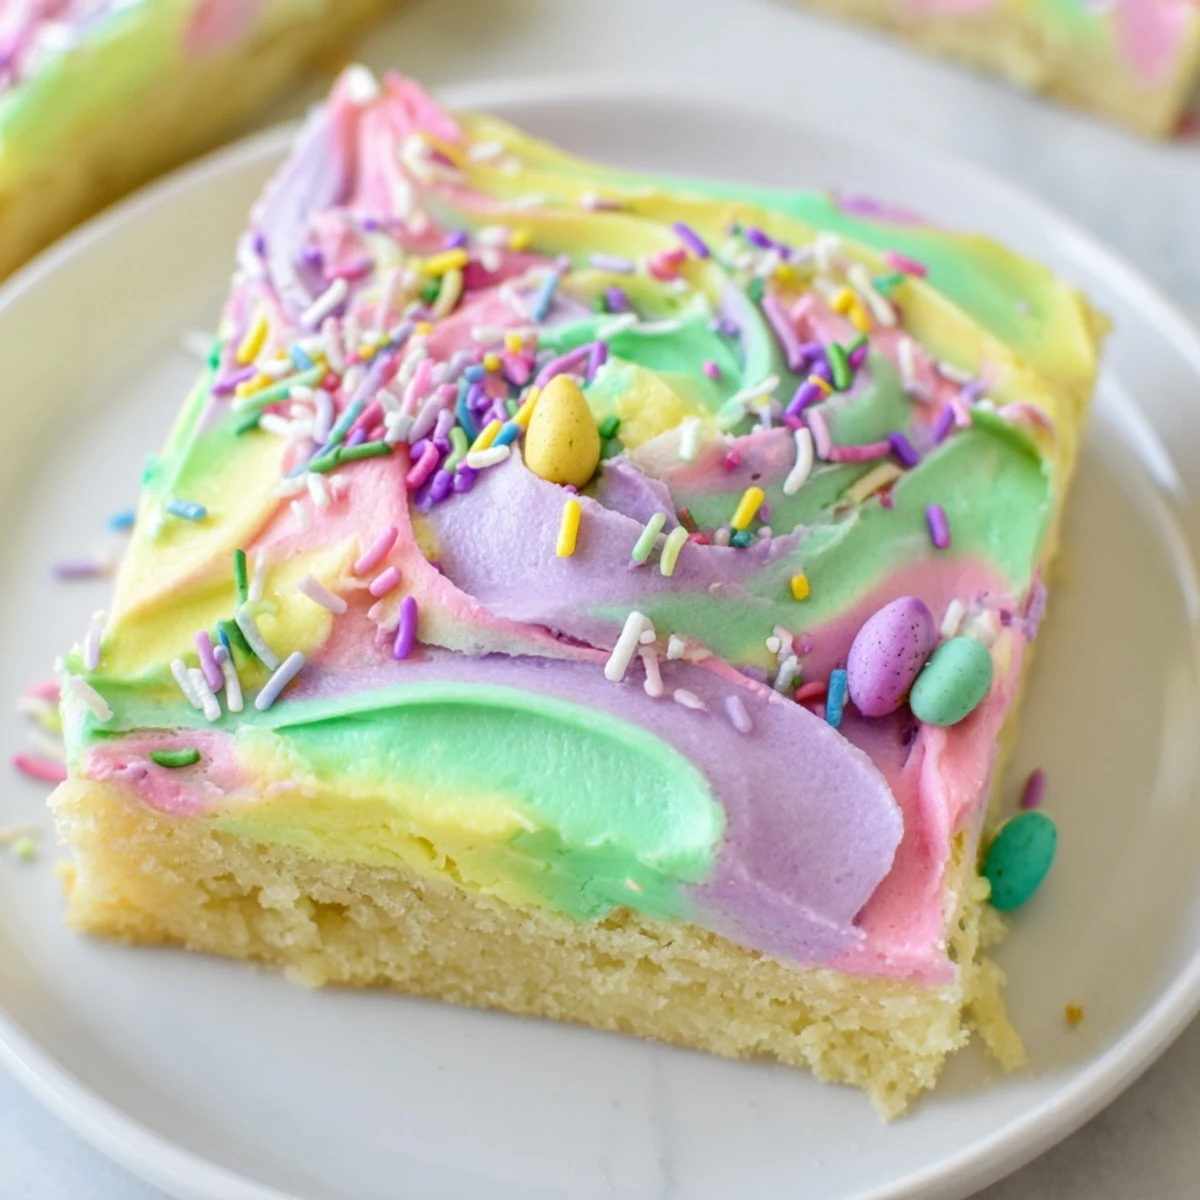
Save These soft and tender sugar cookie bars feature a classic buttery base baked until golden, then topped with luscious vanilla frosting tinted in soft pastel shades of pink, yellow, green, or purple. The finished bars are adorned with festive Easter sprinkles for a celebratory touch that's both visually stunning and delicious.
Perfect for spring gatherings, these bars come together in just 40 minutes from start to finish. The cookie base remains moist and tender thanks to careful baking, while the buttercream frosting provides the perfect sweet complement. The 9x13 pan yields 16 generous servings, making them ideal for sharing.
Last Easter my youngest decided she wanted to help with dessert, and I realized rolling out individual cookies with a four-year-old was not the peaceful holiday moment I had envisioned. That is when I switched to cookie bars and discovered they are actually better than the traditional version. The texture stays softer and more tender, plus you get that perfect frosting-to-cookie ratio in every single square.
My sister-in-law asked for the recipe after taking one bite, then confessed she had been buying bakery cookies for years because she thought homemade was too complicated. We stood in the kitchen together while she tasted the frosting, and she kept saying she could not believe something this simple tasted so special.
Ingredients
- All-purpose flour: Provides the structure for tender bars that hold together but stay soft
- Baking powder and salt: Just enough lift and flavor enhancement without making them cakey
- Unsalted butter: The foundation of both cookie and frosting, softened to room temperature for smooth incorporation
- Granulated sugar: Sweetens and creates that irresistible tender crumb structure
- Eggs: Bind everything together while adding richness and structure
- Pure vanilla extract: The classic flavor backbone that makes everything taste homemade
- Almond extract: Optional but adds a sophisticated layer that people notice but cannot quite place
- Powdered sugar: Sifted first to prevent lumps in your silky frosting
- Whole milk or cream: Adjusts frosting consistency to perfectly spreadable
- Pastel food coloring: Gel colors work best and keep the frosting from becoming too thin
- Easter sprinkles: The festive finishing touch that makes them instantly celebratory
Instructions
- Prep your pan and oven:
- Preheat oven to 350°F (175°C) and line a 9x13 inch pan with parchment paper, leaving enough overhang to lift the bars out later.
- Mix the dry ingredients:
- Whisk together flour, baking powder, and salt in a medium bowl so they are evenly distributed.
- Cream the butter and sugar:
- Beat butter and sugar until the mixture is pale and fluffy, then add eggs one at a time, followed by both extracts.
- Combine everything:
- Gradually mix in the dry ingredients just until no flour streaks remain, being careful not to overwork the dough.
- Bake to perfection:
- Spread evenly in your prepared pan and bake for 18–20 minutes until the edges are barely golden.
- Make the frosting:
- Beat butter until creamy, add powdered sugar, vanilla, and 2 tablespoons milk, then adjust with more milk until fluffy and spreadable.
- Add the colors:
- Divide frosting and tint with pastel colors, then spread over completely cooled bars.
- Finish and serve:
- Decorate with sprinkles immediately, then lift and cut into squares using the parchment overhang.
 Save
Save These became our new Easter tradition after that first year. Now my daughter asks every March if we are making the pretty bars, and I love that she associates holiday cooking with something we actually do together instead of something she watches me do alone in the kitchen.
Making Them Your Own
Lemon zest in the dough or frosting adds such a bright spring flavor that cuts through the sweetness beautifully. I have also swapped the almond extract for coconut extract and topped with toasted coconut for a completely different but equally delicious variation.
Frosting Techniques
You can pipe different colored frostings in rows for a striped look, or drop spoonfuls of each color randomly and swirl gently with a knife for a marbled effect. Both methods look impressive but take about the same amount of time as spreading a single color.
Storage and Timing
These bars actually taste better on day two when the flavors have melded and the frosting has softened the cookie slightly.
- Make them up to two days before your celebration
- Store at room temperature if serving within 24 hours
- Refrigerate for longer storage but bring to room temperature before serving
 Save
Save Watch them disappear from the dessert table faster than anything else you made.
Recipe FAQs
- → Can I make these bars ahead of time?
-
Yes, these bars keep beautifully for up to 4 days at room temperature in an airtight container, or up to 1 week when refrigerated. You can also freeze unfrosted bars for up to 3 months and frost them after thawing.
- → What size pan should I use?
-
A standard 9x13 inch baking pan works perfectly for this recipe. The parchment paper overhang makes removal simple, and the dimensions ensure the bars bake evenly to the right thickness.
- → How do I achieve the pastel frosting colors?
-
Divide the prepared frosting into separate bowls and add food coloring drop by drop, mixing thoroughly after each addition. Pastel shades require just a tiny amount of gel or liquid coloring—start with less and add more as needed.
- → Can I use different extract flavors?
-
Absolutely! While vanilla and almond extract create a classic combination, you can substitute lemon or orange zest for a bright citrus twist, or use coconut extract for a tropical variation that pairs beautifully with Easter themes.
- → Why are my bars hard or dry?
-
Overbaking is the most common cause of dry cookie bars. Remove them from the oven when the edges are barely golden and the center appears set— they'll continue cooking slightly as they cool. Using room-temperature ingredients also ensures proper texture.
