 Save
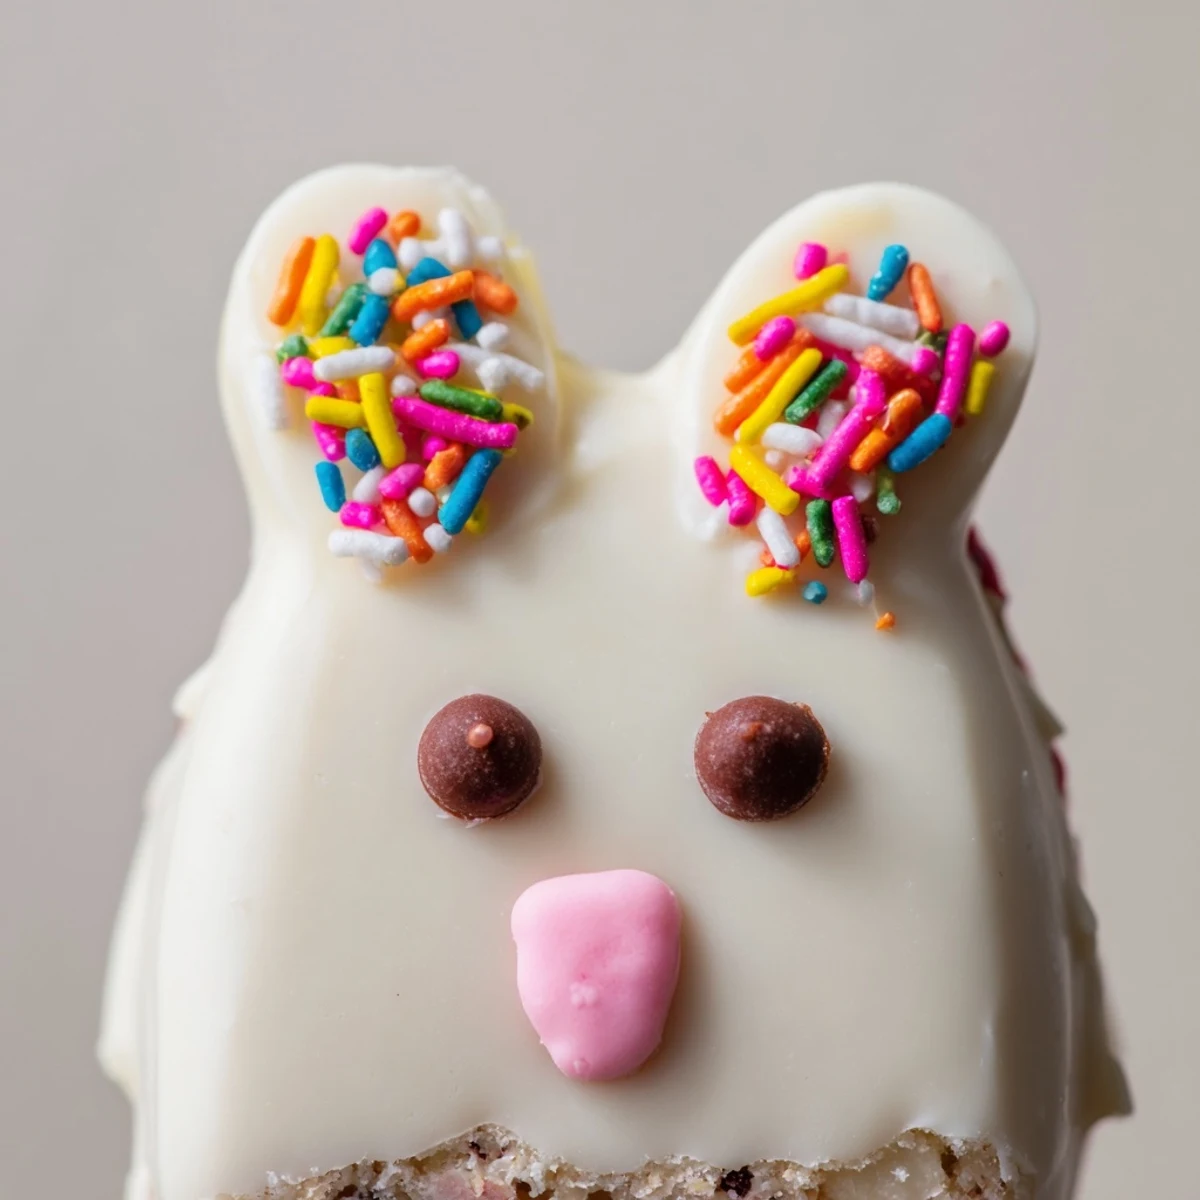
Save These delightful bunny-shaped treats combine moist vanilla cake with rich white chocolate coating. The cake mixture uses simple ingredients like vanilla cake crumbs, cream cheese, and butter to create a dough-like consistency that holds its shape perfectly. Each cakesicle gets dipped in melted white chocolate and decorated with candy eyes, sprinkles, or fondant features to create adorable bunny faces. The process involves mixing, shaping, chilling, dipping, and decorating—taking about an hour from start to finish. These treats are ideal for Easter gatherings, spring parties, or anytime you want to add some whimsical charm to your dessert table. Store them in the refrigerator for up to three days, though they're likely to disappear much faster!
Last Easter, my niece looked at me with those serious seven-year-old eyes and asked if the Easter Bunny ever took a day off. I told her that even bunnies need treats, which somehow led to us spending an entire Friday afternoon covered in white chocolate and sprinkles, making these little cake rabbits. The kitchen looked like a pastel bomb went off, but seeing her sneak "just one more" every time she walked past the counter made the mess entirely worth it.
I made these for my book club meeting, fully expecting polite nibbles, but watched in amusement as grown women debated who got the last bunny face. Someone mentioned they felt like eating dessert art, which might be the best description Ive ever heard.
Ingredients
- Vanilla cake crumbs: Using stale cake works beautifully here, and I have found that slightly dryer crumbs absorb the cream cheese mixture better than fresh ones
- Cream cheese: Room temperature is non-negotiable, otherwise you will end up with lumpy pockets instead of smooth dough
- Unsalted butter: The butter helps bind everything together while adding that rich flavor that keeps people coming back
- Powdered sugar: This sweetens the dough just enough without making it cloyingly sweet
- Vanilla extract: Pure vanilla makes such a difference in the final flavor profile
- White chocolate: Good quality white chocolate melts smoother than candy melts, creating that professional-looking finish
- Edible gel food coloring: A tiny bit goes a long way for those adorable bunny details
- Cakesicle sticks: Insert these at an angle rather than straight down for better stability
Instructions
- Mix the dough:
- Combine the cake crumbs, cream cheese, butter, powdered sugar, and vanilla in a bowl, mixing until everything comes together into a dough that holds its shape when squeezed.
- Shape the bunnies:
- Divide the mixture into eight portions and form each into a flattened oval with slightly pointed tops for ears, keeping the shapes uniform so they cook evenly.
- Add the sticks:
- Gently push a cakesicle stick about halfway into each bunny shape, being careful not to push all the way through, then refrigerate until firm.
- Melt the chocolate:
- Heat the white chocolate in thirty-second intervals, stirring thoroughly between each burst, until you have a silky smooth consistency.
- Coat the cakesicles:
- Dip each chilled bunny into the melted chocolate, tapping gently against the bowl edge to remove excess coating while rotating for even coverage.
- Add decorations:
- While the chocolate is still wet, place candy eyes, sprinkle noses, or fondant ears onto each bunny, working quickly before the coating sets.
- Set and serve:
- Let the cakesicles harden completely at room temperature, then add any final details with food coloring pens if desired.
 Save
Save My friend texted me at midnight that same book club night, confessing she ate three bunnies while "testing them for quality assurance purposes." I told her that is what happens when you make something this adorable and delicious.
Getting The Shape Right
The first time I made these, my bunny faces looked more like worried clouds. I learned to sketch the shape on parchment first as a guide, then press the dough mixture into that outline. The shapes came out remarkably consistent, and now I keep that template in my recipe box.
Working With White Chocolate
White chocolate can be temperamental and will seize if even a drop of water gets into it. I always dry my bowls and utensils completely before melting, and I never cover the chocolate while it heats because condensation will ruin the whole batch.
Decoration Ideas
Beyond the classic bunny face, these cakesicles work beautifully for any spring theme. I have made flower-dotted versions, pastel-striped ones, and even a batch with little carrot shapes drawn on with food coloring markers.
- Pipe pink centers onto white chocolate before it sets for a flower effect
- Crush pastel candy canes over the wet coating for a speckled look
- Roll the dipped tops in colored sprinkles before the chocolate hardens
 Save
Save These little treats have become my favorite way to celebrate spring, bringing joy to kids and adults alike.
Recipe FAQs
- → What makes cakesicles different from regular cake pops?
-
Cakesicles are larger and shaped like popsicles, using sticks similar to cake pops but with more surface area for decoration. The flat, oval shape creates a perfect canvas for bunny faces and other designs, while the larger size provides a more satisfying portion of cake and chocolate coating.
- → Can I use different cake flavors for the filling?
-
Absolutely! While vanilla cake crumbs create a classic base, you can experiment with chocolate, lemon, red velvet, or any favorite cake flavor. Different cake varieties pair beautifully with white chocolate coating and can be matched to seasonal preferences or party themes.
- → How do I prevent the chocolate coating from cracking?
-
Ensure your cake shapes are thoroughly chilled before dipping—the cold cake helps the chocolate set quickly. Avoid overheating the white chocolate when melting, and let excess chocolate drip off gently. Room temperature dipping works best, and allow coated treats to set undisturbed on parchment paper.
- → What decorations work best for bunny faces?
-
Candy eyes create instant personality, while pink sprinkles or fondant circles make adorable noses. Fondant or modeling chocolate cut into ear shapes attach easily while the coating is still soft. Pretzel sticks, edible glitter, or food coloring pens offer additional creative options for customizing each bunny expression.
- → How long will these treats stay fresh?
-
Store finished cakesicles in an airtight container in the refrigerator for up to three days. The cool environment keeps the white chocolate coating firm and prevents the cake filling from becoming too soft. For best results, add final decorative touches with food coloring pens just before serving to maintain the sharpest appearance.
- → Can I make these ahead for Easter?
-
Yes! Prepare the cake shapes and insert sticks up to two days in advance, storing them refrigerated in an airtight container. Dip and decorate them the day before your event, allowing adequate time for the chocolate to set completely. This approach makes Easter prep more manageable while ensuring fresh-tasting treats.
